
Appointments - How to Connect and Manage a Calendar
Published: Updated:
A seamless appointment scheduling process is vital for any business. ClickFunnels’ Calendar Connections feature allows you to integrate your appointment scheduling with your calendar, ensuring you never miss an appointment. This article will guide you through connecting and managing your calendars within the ClickFunnels Appointments app.
Requirements
Section titled “Requirements”-
An active ClickFunnels account
-
The Appointments app connected to your workspace
-
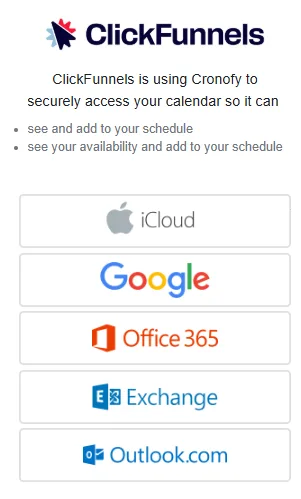
Access to a calendar account (e.g., iCloud, Google Calendar, Office365, Exchange, Outlook)
Connecting a New Calendar
Section titled “Connecting a New Calendar”-
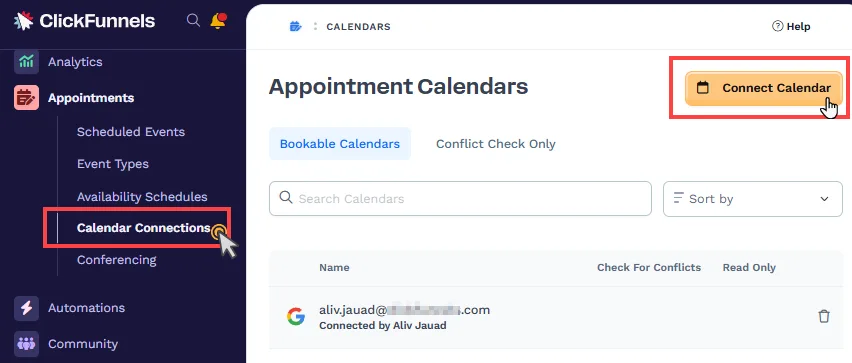
From your ClickFunnels dashboard, go to the Appointments app.
-
Select Calendar Connections.
-
Click the Connect Calendar button on the top right of the screen.
-
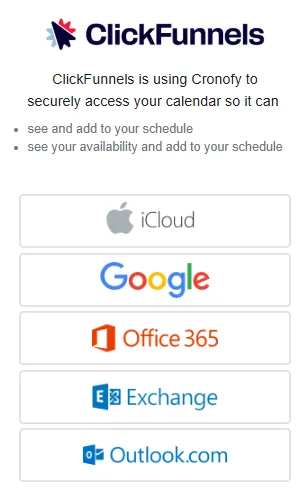
Select your calendar provider from the list (e.g., Google Calendar).
-
Click the Checkbox to accept the terms and conditions for linking your calendar account with ClickFunnels.
-
In the next prompt, select the Calendar Account.
-
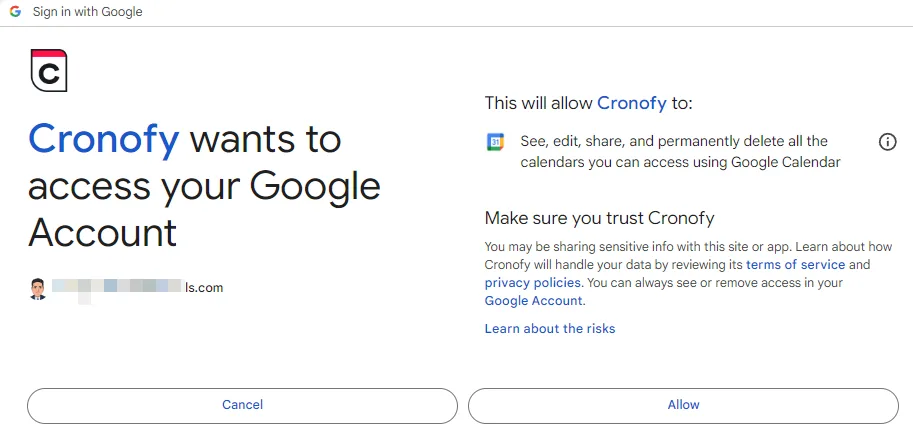
After choosing the calendar account, the pop-up will ask your permission to access your calendar. Click the Allow button to continue.
-
You will see a Confirmation Message at the top-right corner that confirms you have connected your selected calendar application.
-
To connect additional calendars, you must repeat this process.
Editing Appointment Calendar Settings
Section titled “Editing Appointment Calendar Settings”Editing your appointment calendar settings in ClickFunnels ensures your scheduling preferences are accurately configured. Follow these steps to update your calendar settings:
-
Navigate to the Appointments app.
-
Select Calendar Connections.
-
Locate the calendar you wish to edit.
-
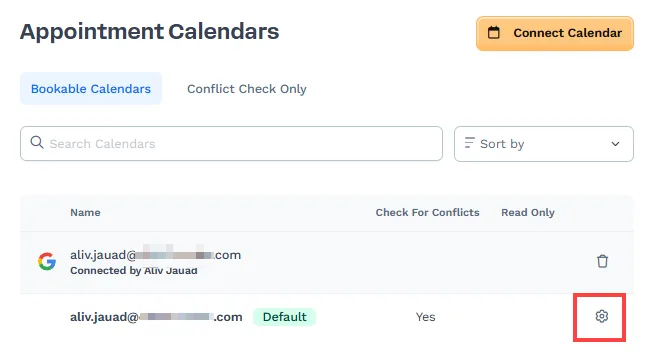
Click the Gear ⚙️ icon on the right side of your calendar to open the settings.
-
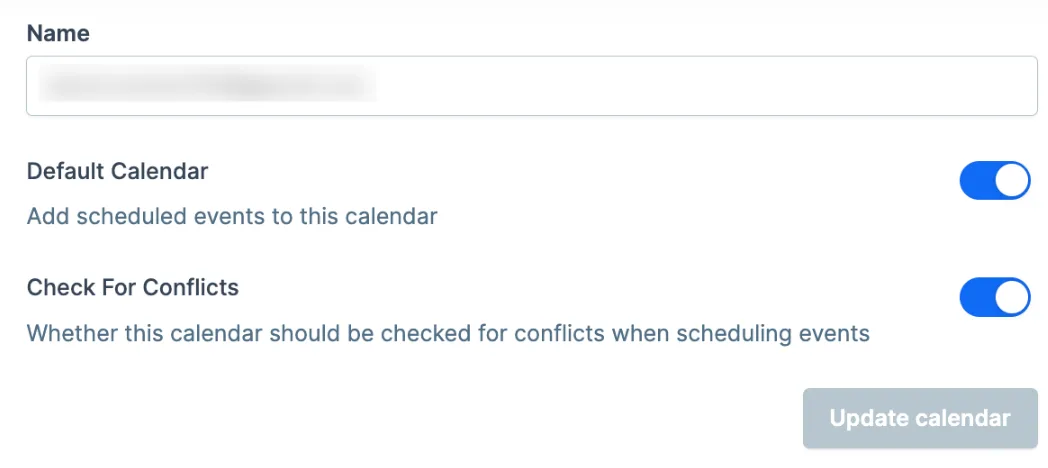
Edit Calendar Settings:
-
Name: Modify the name of the calendar to make it easily identifiable.
-
Default Calendar: Unless specified otherwise, the default calendar serves as the primary destination for scheduling and organizing events. Toggle this setting to enable or disable the default status.
-
Check For Conflicts: This setting ensures the calendar system checks for any scheduling conflicts before confirming a new appointment. When enabled, the system will scan existing events on the connected calendars to identify overlapping times. If a conflict is detected, it will prevent double bookings by notifying you of the issue or automatically blocking the conflicting time slot. Toggle this setting to enable or disable conflict checking.
-
-
After making the desired changes, click the Update Calendar button to save your settings.
Deleting a Calendar Connection
Section titled “Deleting a Calendar Connection”To delete a calendar connection in ClickFunnels, follow these steps:
-
Locate the calendar you wish to delete.
-
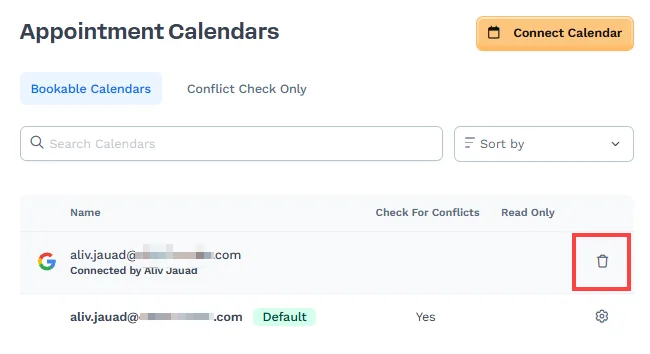
Click the Trashcan 🗑️ icon next to your Calendar connection.
-
Click the Proceed button to confirm the deletion.