
How to Import Contacts From a CSV File
Published: Updated:
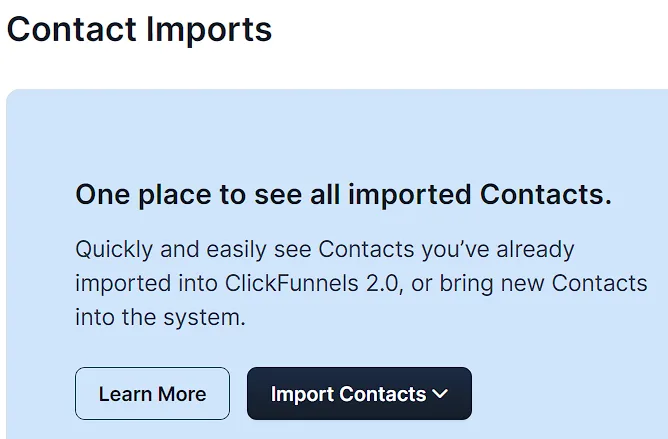
This article will discuss importing contacts into ClickFunnels from a CSV file. Importing contacts from a CSV file makes it easy to add large groups of contacts to your ClickFunnels account efficiently. This method is highly efficient for managing large lists, such as customer databases, event attendees, or program subscribers. By uploading a CSV file, you ensure that all contact details are correctly imported, saving you the time and effort of manually entering data.
Requirements
Section titled “Requirements”-
An active ClickFunnels account
-
A contact list in a properly formatted CSV file
Access Import Actions
Section titled “Access Import Actions”-
Click on Customers from the left-side navigation menu in your account.
-
Select Contacts from the dropdown menu.
-
Go to the top right corner of the page and click on the Actions button.
-
From the dropdown menu, select Imports.
Import Contacts from a CSV File
Section titled “Import Contacts from a CSV File”-
In the Import Actions page, click on the Actions button in the top right corner, then select Imports.
-
Select Import Contacts and choose the CSV Import option from the dropdown menu.
-
Optionally, download the example CSV file to ensure correct formatting.
-
Click the Upload File button to start importing your file.
-
If you have previous imports, you can reuse the same field mapping. This is useful for re-uploading corrected records or regular updates.
-
Click Continue.
-
Adjust the Field Mappings to ensure each CSV field matches the appropriate field in ClickFunnels. This ensures your contact information is categorized correctly, making it easier to manage.
-
Choose native Default Fields: Assign data to standard fields like name, email, etc.
-
Assign to Custom Fields: Optionally, assign data to contact attributes you’ve created.
-
-
Click Continue to proceed.
-
Preview Import Action. Confirm all details are accurate, then check the boxes to:
-
Confirm each contact is over 18 and has given permission to receive marketing communications (required).
-
Overwrite existing contacts with matching emails (if applicable).
-
-
When ready, click the Perform Import Action button to start the import.
-
You will be taken to the Import Action Details, which summarizes the import action.
-
To see your list of contacts, navigate to the left side menu, click on Customers, and then select Contacts.
To learn how to manage your contacts, Refer to How to Manage Contacts