
How to Design Emails
Published: Updated:
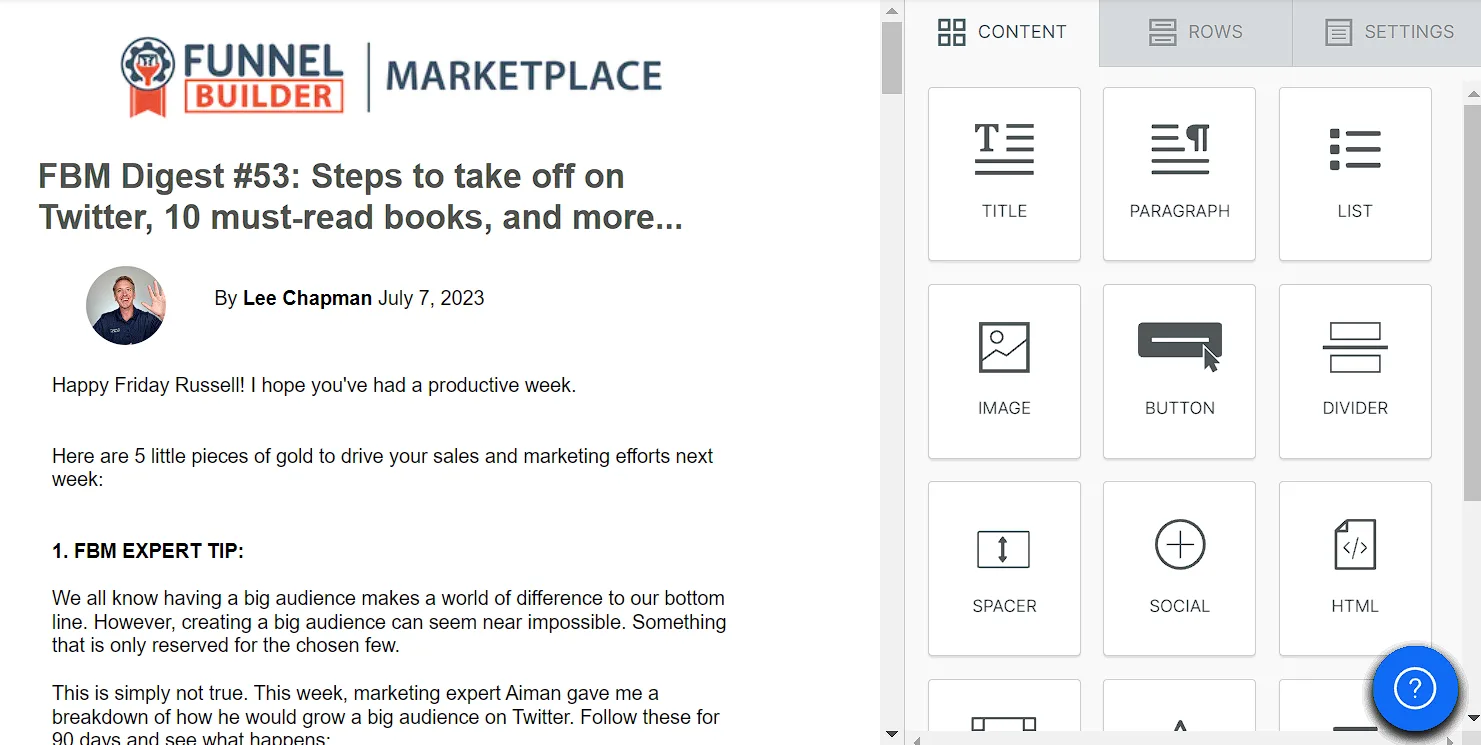
Emails are a great way to connect with your customers and keep them engaged. A well-designed email not only grabs attention but also makes your message clear and easy to understand. This article will show you how to use the email editor, so you can craft professional and engaging emails your customers will love, helping you build stronger relationships and improve your communication.
Requirements
Section titled “Requirements”-
An active ClickFunnels account
-
A draft Broadcast
Access the Email Design Editor
Section titled “Access the Email Design Editor”To customize the content and layout of your broadcast email, you’ll first need to access the email design editor. This section shows how to open the editor and what to expect on the way in.
-
Navigate to the Email app using the left-hand menu.
-
On the Broadcasts dashboard, click the name of the broadcast you want to design. This opens the Broadcast Details page.
-
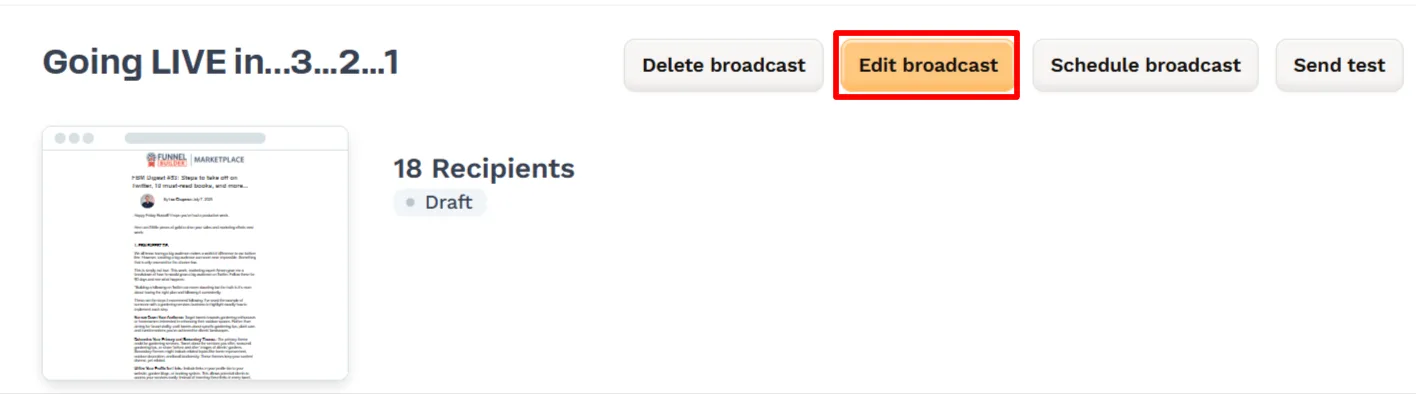
On the details page, click Edit broadcast at the top.
-
Under the Email section, click the Design email button.
-
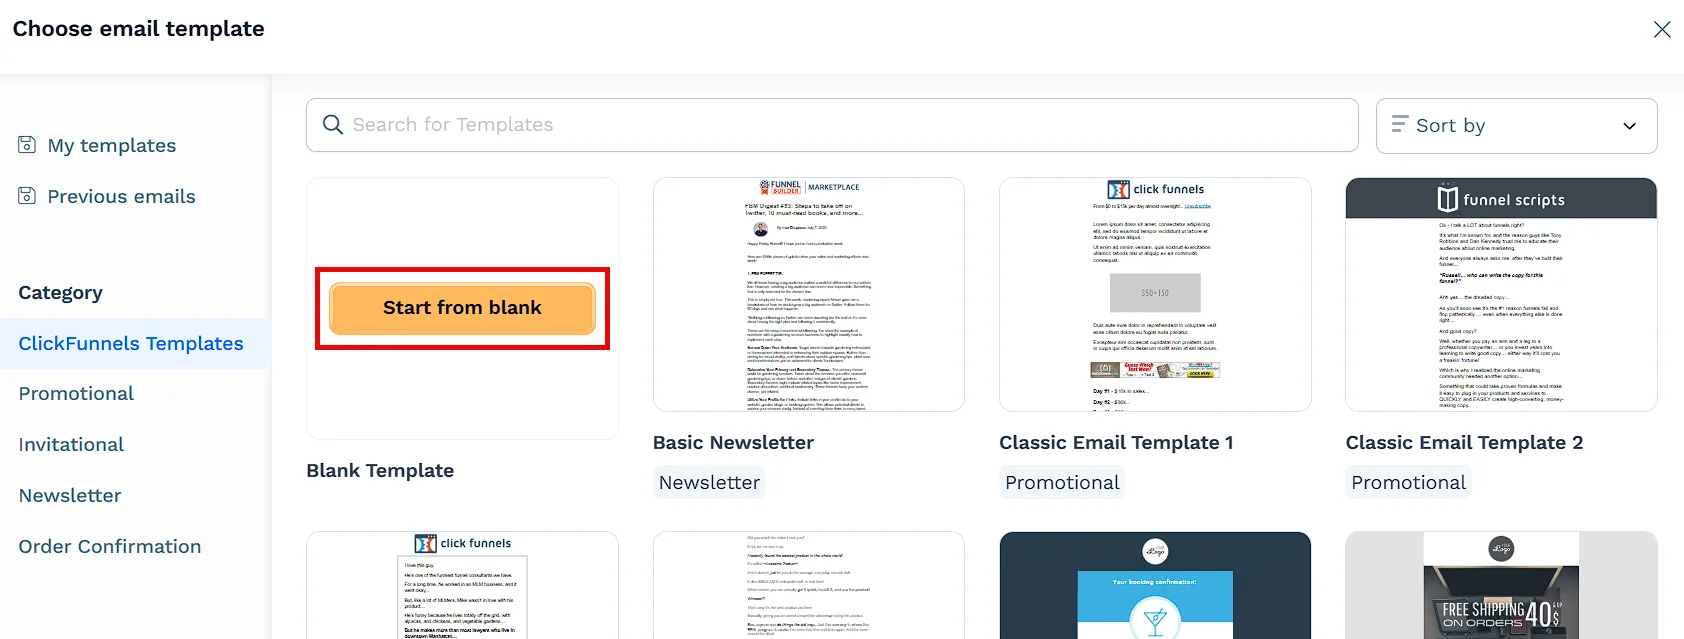
If no template has been selected yet, you’ll be prompted to choose one:
-
Pick a template from the ClickFunnels Templates collection, or
-
Click Start from blank to begin from scratch.
-
-
Once you’ve selected a template, you’ll be taken directly into the email design editor where you can begin building your email.
Using the Email Editor
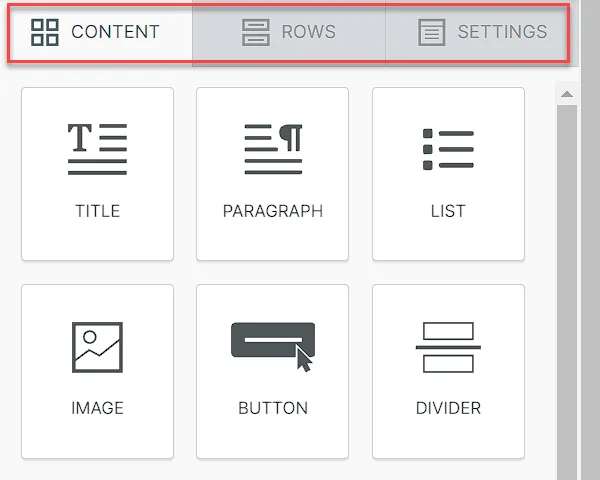
Section titled “Using the Email Editor”The ClickFunnels email editor is designed to be user-friendly, allowing you to create stunning email campaigns with ease. To start creating campaigns with the Email editor, you’ll use what are known as content Blocks, Rows, and Settings. These design tools are found in three divided menu parts in the main side menu:
-
Content Blocks: Drag and drop elements like text, images, buttons, and videos into your email. Customize each block to fit your brand.
-
Rows: Organize your content blocks. Rows help layout your email in an appealing way with different column setups.
-
Settings: Adjust the overall look of your email. Change background colors, padding, borders, and more to match your brand.
Adding Content Blocks
Section titled “Adding Content Blocks”Content blocks are the building units of your email layout. Each block represents a type of content, such as a heading, paragraph, image, or button. You can drag blocks from the Content tab into the email canvas and position them anywhere within your layout.
You can also rearrange, duplicate, or remove blocks as needed. The editor is designed to be flexible, allowing you to create a layout that fits your brand and campaign goals.
To add and manage content blocks:
-
Drag and drop the content blocks you need into your email layout.
-
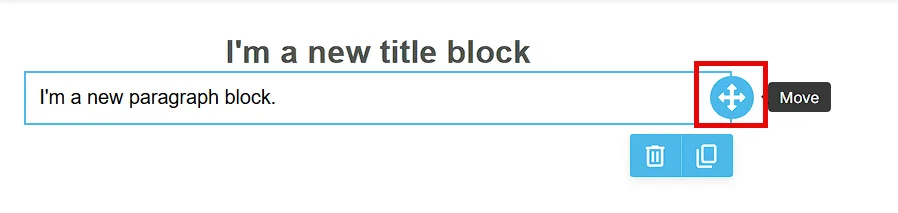
To rearrange the blocks, click on the one you want to move, drag it using the 4-way cursor, and place it where you want.
-
Customize the block’s content and styling by selecting it and using the Properties panel on the right. Options may vary depending on the block type (e.g., title, image, button).
-
When you’re done, click Publish and exit in the top right corner to save your changes.
Adding Rows
Section titled “Adding Rows”Rows define the structure of your email by organizing content into sections. You can add, duplicate, move, and customize rows to build the layout you want.
What you can do in the Rows tab:
Section titled “What you can do in the Rows tab:”-
Add rows: Drag a layout from the Rows tab into your canvas.
-
Add content blocks: Once your row is placed, drag blocks (text, images, buttons, etc.) into the row.
-
Rearrange rows: Drag rows to reorder them in your layout.
-
Edit settings: Click on a row to open the settings panel and customize it.
Row settings include:
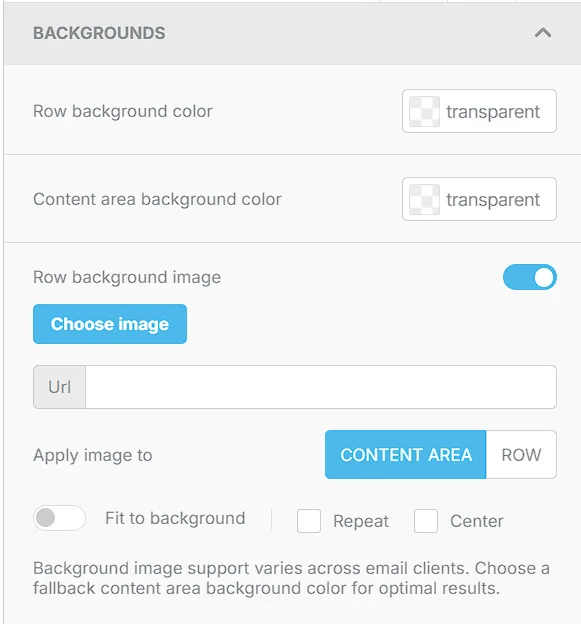
Section titled “Row settings include:”Backgrounds
-
Row background color: Select a solid color using the color palette.
-
Content area background color: Apply a different color to the content container inside the row.
-
Row background image:
-
Toggle Row background image on.
-
Click Choose image or enter an image URL.
-
Use the Apply image to option to apply the background to either the Content Area or the full Row.
-
Optional settings:
-
Fit to background: Stretch the image to fill the space.
-
Repeat: Repeat the image horizontally and/or vertically.
-
Center: Center the image within the background area.
-
-
Borders
-
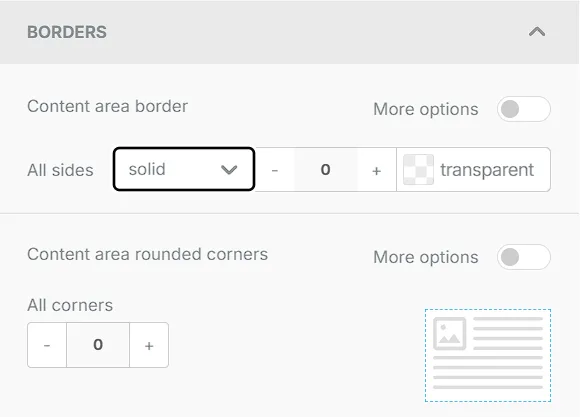
Content area border: Use the dropdowns to adjust border style, size, and color.
-
Use the All sides option to apply changes uniformly.
-
Toggle More options to style each side individually.
-
-
Content area rounded corners: Set a corner radius for a softer layout.
- Use All corners to apply the same value or More options to configure each corner separately.
Layout
-
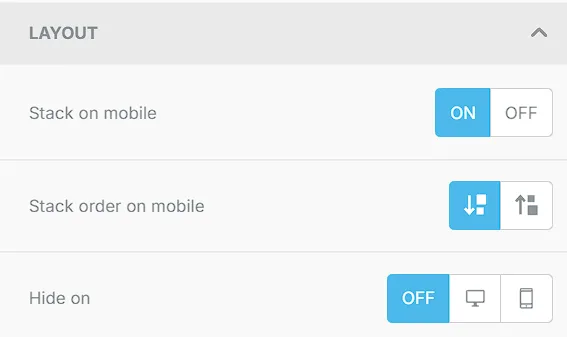
Stack on Mobile: Toggle On or Off to control whether row content stacks vertically on mobile devices.
-
Stack Order on Mobile: Choose default or reverse stacking for mobile display.
-
Hide on: Select Off, Desktop, or Mobile to show or hide the row on specific devices.
Dynamic Content
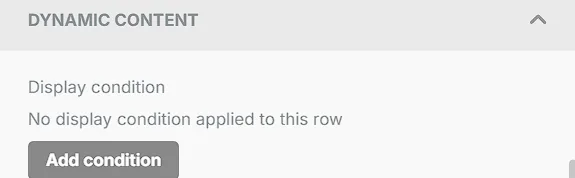
Dynamic content lets you show different information to recipients based on specific conditions. When you add Dynamic Content to a specific piece of content, it will show only to the recipients who meet the conditions you set. Here’s how to use dynamic content in the ClickFunnels email editor.
-
Add condition: Opens a panel to define display rules.
-
Fields:
-
Name and Description: Identify the rule.
-
Before and After: Define custom condition syntax.
-
-
To edit or remove a condition, click on the row and adjust the settings in the panel.
Columns Structure
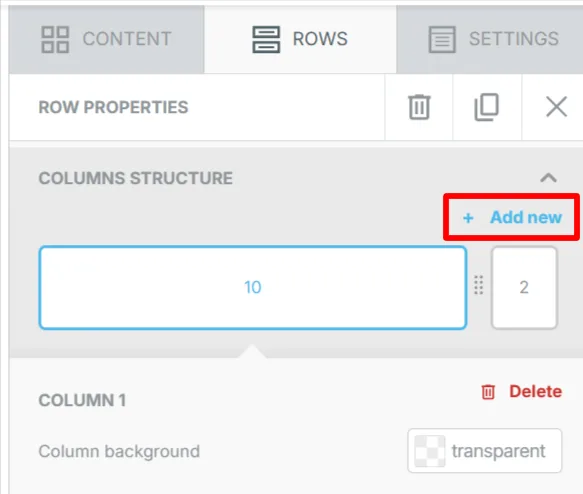
Control layout density and spacing across columns.
-
Add new: Click + Add new to insert columns.
-
Adjust width: Drag the column sides to resize.
-
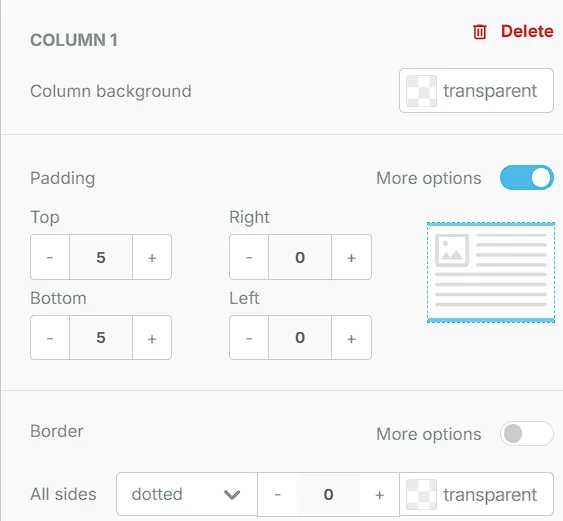
Customize individual columns:
Click directly on a column to open its settings panel. From there, you can:
-
Background Color: Set a color per column.
-
Padding: Apply uniform padding with All sides or fine-tune with More options.
-
Borders: Set border style, size, and color using All sides or More options for custom sides.
-
Managing General Settings
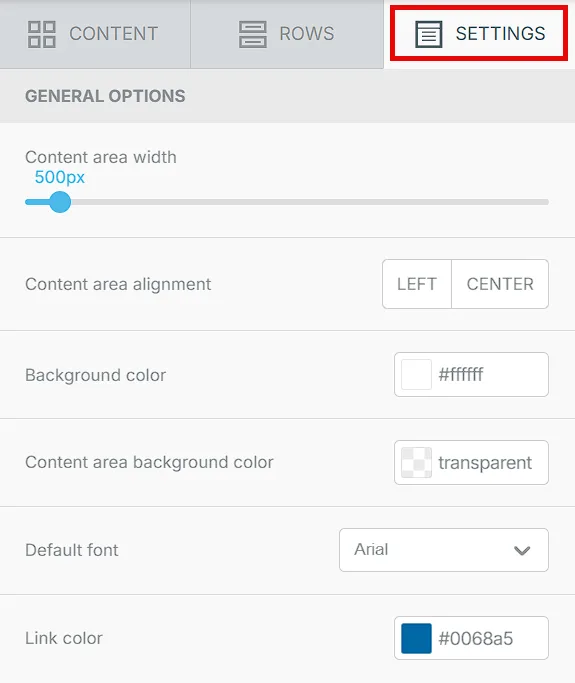
Section titled “Managing General Settings”Use the Settings tab to configure global appearance options for your email. These changes apply to the entire design area and help you maintain a consistent visual style.
-
Content Area Width: Use the slider to adjust the overall width of your email content.
-
Content Area Alignment: Choose between Left or Center to set the default content alignment.
-
Background Color: Pick a background color for the entire email layout.
-
Content Area Background Color: Choose a fallback background color that displays inside the content area. This is useful if you’re using background images or want to set contrast.
-
Default Font: Select the font you want to apply to new content blocks.
-
Link Color: Choose the default color for all hyperlinks in the email.
Using the Editor Toolbar
Section titled “Using the Editor Toolbar”After designing your email, use the top toolbar to complete or manage your work. The following actions are available:

Save as Template
Section titled “Save as Template”Click Template > Save as template to reuse the current design in future broadcasts.
A new tab will open where you’ll be prompted to:
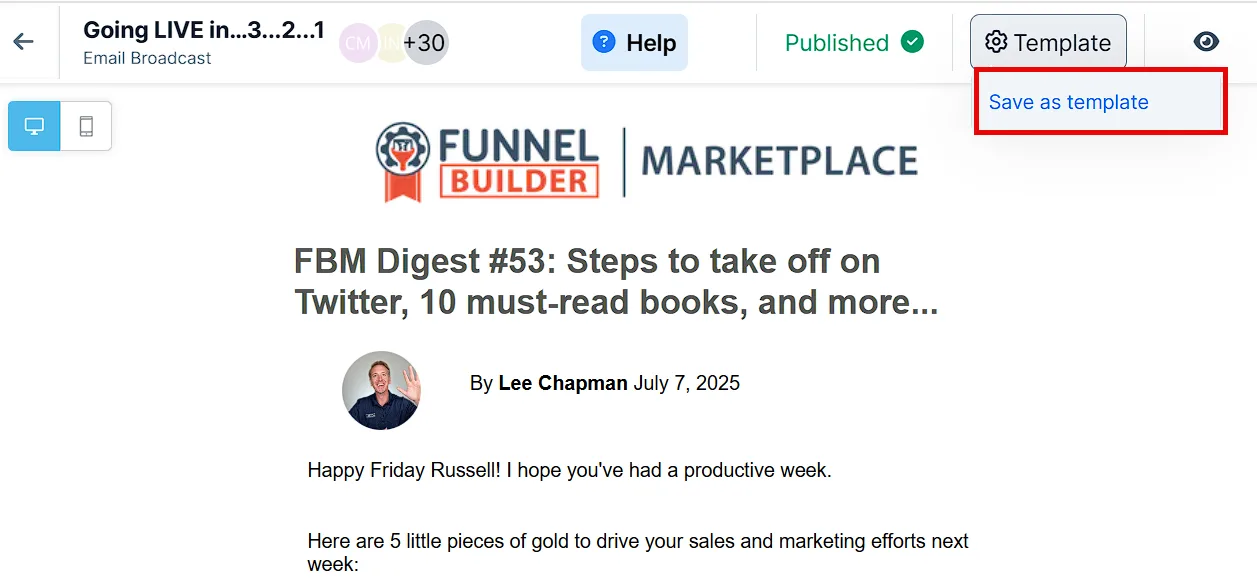
-
Enter a template Name
-
Optionally add a subject line (merge tags supported)
Saved templates will be available under My templates. To learn more about email templates, refer to How to Create and Manage Email Templates.
Preview
Section titled “Preview”Click the Preview icon to see how the email will appear in a recipient’s inbox.
You can choose to:
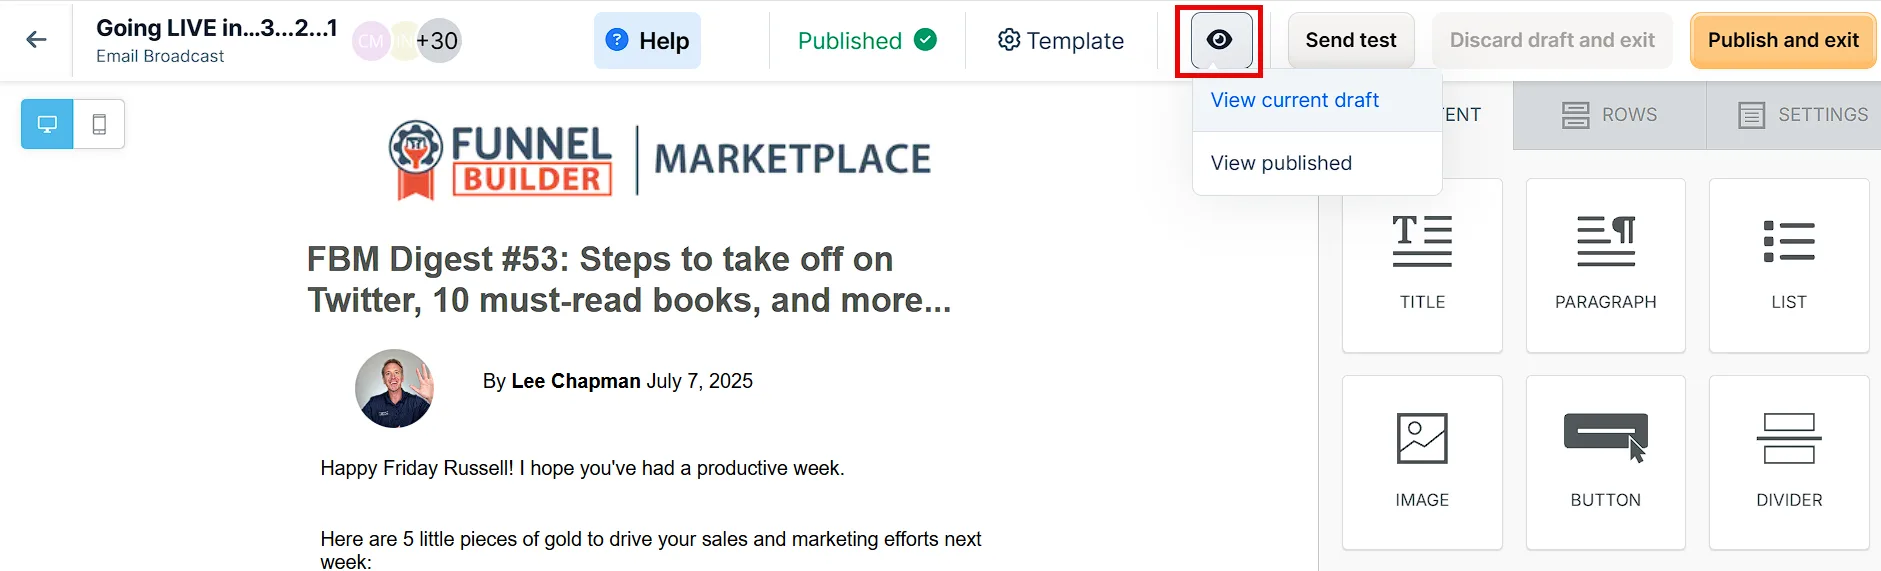
-
View the current draft
-
View the published version (if available)
Send Test
Section titled “Send Test”Click Send test to preview the email.
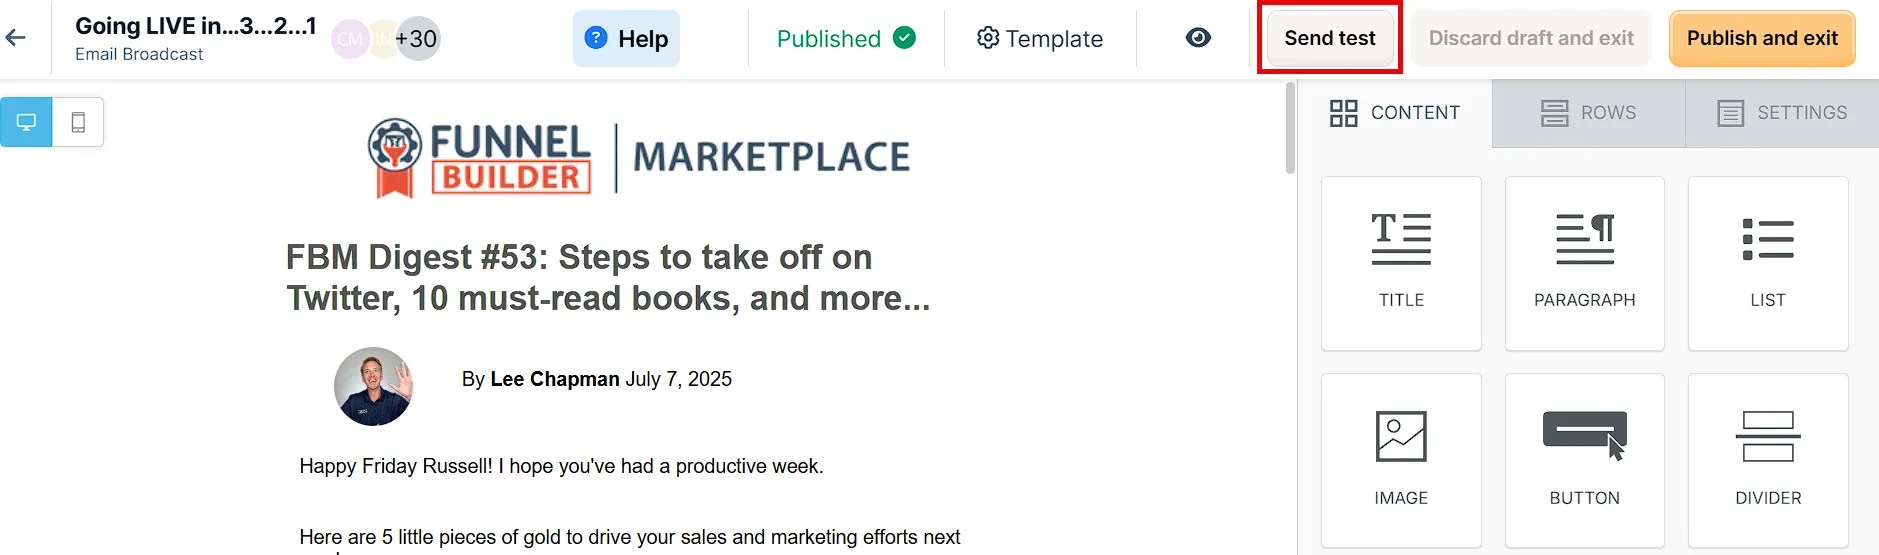
You can send a test to yourself or up to five recipients. A modal will appear where you can:
-
Enter a Title for the test
-
Select a From address
-
Add email addresses under Send to
This allows you to review the design, formatting, and content before publishing.
Discard Draft and Exit
Section titled “Discard Draft and Exit”Click Discard draft and exit to leave the editor without saving.
All unsaved changes will be lost.
Publish and Exit
Section titled “Publish and Exit”Click Publish and exit to save your work and return to the broadcast settings page.
This is required to finalize your changes before sending or scheduling the broadcast.