How to Add Quick Actions to Pipeline Stages
Published: Updated:
Quick Actions enable you to create instant automations for your Pipeline Stages in ClickFunnels. By adding Quick Actions to your pipeline stages, you can automatically trigger specific responses when opportunities enter or exit a stage. This can include triggering a follow-up workflow, adding a contact tag, or notifying team members, saving time and ensuring consistent follow-up throughout your sales pipeline. This article will guide you through the process of adding Quick Actions to Pipeline Stages, helping you leverage this powerful tool to enhance your sales workflow.
Requirements
Section titled “Requirements”-
An active ClickFunnels account
-
The Automations app added to your workspace
-
The Opportunities app added to your workspace
-
At least one Pipeline created within your ClickFunnels workspace
Adding Quick Actions to Pipeline Stages
Section titled “Adding Quick Actions to Pipeline Stages”-
Navigate to the Opportunities app in the left-side menu.
-
Select the Pipeline where you want to add Quick Actions.

-
Locate the pipeline stage where you want to add a Quick Action.
-
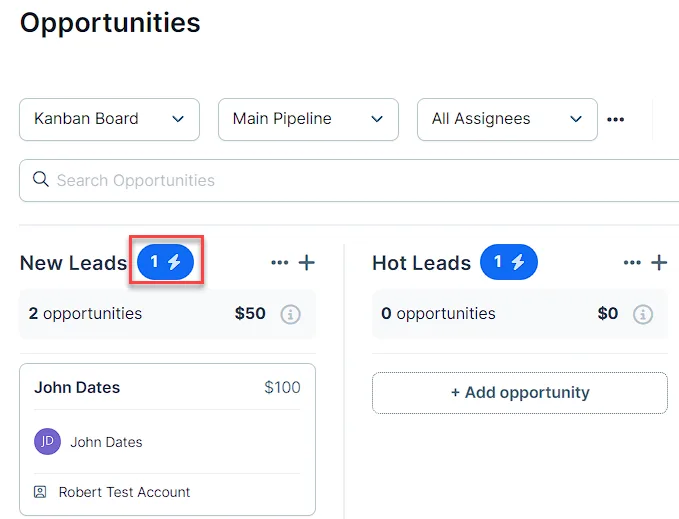
Click the lightning bolt icon (⚡) next to the stage name.
-
Select Add Quick Action.
-
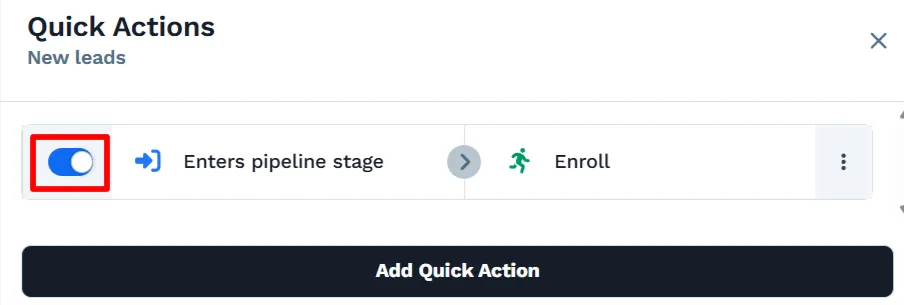
Choose a trigger for your Quick Action:
-
“Enters pipeline stage”
-
“Exits pipeline stage”
-
-
Select an effect that will occur when the trigger is activated.
-
Use the toggle switch to activate your Quick Action.
To learn more about effects and triggers, refer to the How to Manage Quick Actions article.
Managing Quick Actions
Section titled “Managing Quick Actions”Changing the Trigger or Effect
Section titled “Changing the Trigger or Effect”-
Click the lightning bolt icon to locate the Quick Action you wish to update.
-
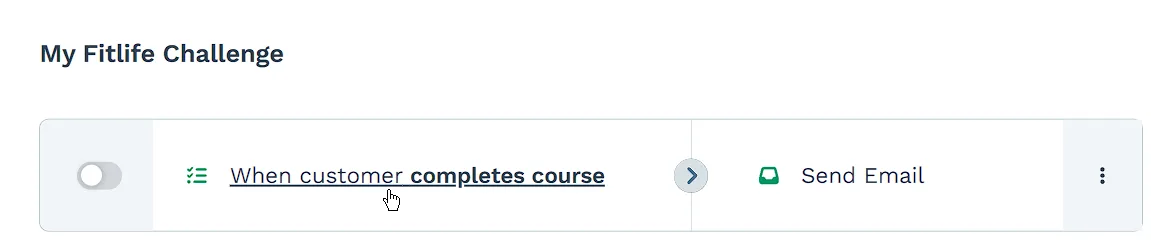
Click on the trigger or effect you want to change.
-
Make the necessary updates to the selected option.
Changing the Effect
Section titled “Changing the Effect”-
Click the lightning bolt icon again to locate the Quick Action you wish to edit.
-
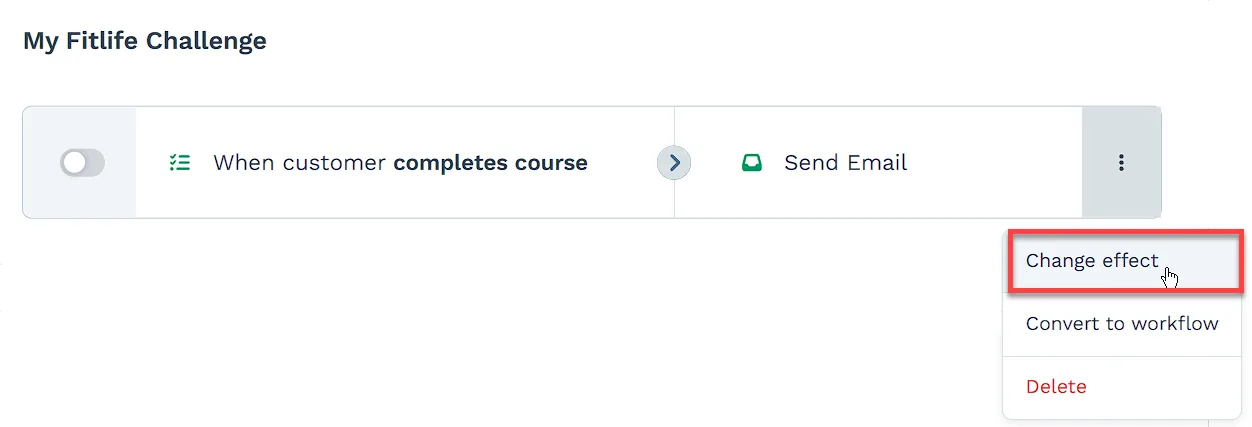
Click on the three dots icon next to the selected effect.
-
From the dropdown menu, select Change effect.
Adding Multiple Quick Actions
Section titled “Adding Multiple Quick Actions”-
Click the lightning bolt icon again.
-
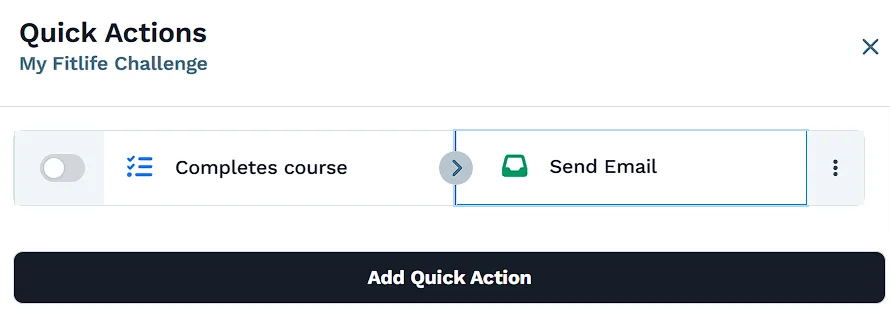
Select Add Quick Action.
-
Set up the new trigger and effect.
-
Repeat for each additional Quick Action you want to create.
Removing a Quick Action
Section titled “Removing a Quick Action”-
Open Quick Actions by clicking the lightning bolt icon.
-
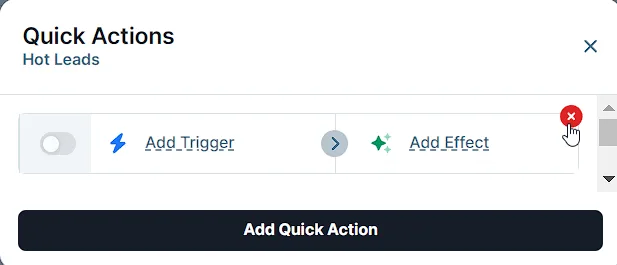
Hover over the Quick Action you want to remove.
-
Click the red cross (X) icon that appears on the right side.