
Customizing Your Profile
Published: Updated:
Your ClickFunnels profile contains key account information, including your name and email address, and allows you to manage your password. This article shows you how to access and update your profile settings.
Requirements
Section titled “Requirements”- An active ClickFunnels account
Accessing Your Profile
Section titled “Accessing Your Profile”-
Click on your Workspace name in the bottom left corner of the screen.
-
From the menu that appears, select User Settings.
Updating Your Profile Information
Section titled “Updating Your Profile Information”Once you’re in your profile settings, you can edit the following details:
-
Avatar
-
Click the Edit Avatar icon (pencil icon) on your current avatar to upload a new image directly from your device.
-
Alternatively, you can update your avatar via Gravatar by visiting Gravatar.com.

-
-
Email Address
Your email address is shown on your profile, but you can’t change it there. To change your email address, please contact customer service at cf2support@clickfunnels.com.
-
First and Last Name
Update how your name is displayed within your workspace. -
Time Zone
Choose your preferred time zone from the dropdown menu to ensure accurate scheduling. -
After making changes, click Update profile to save.
Digital Coach Settings
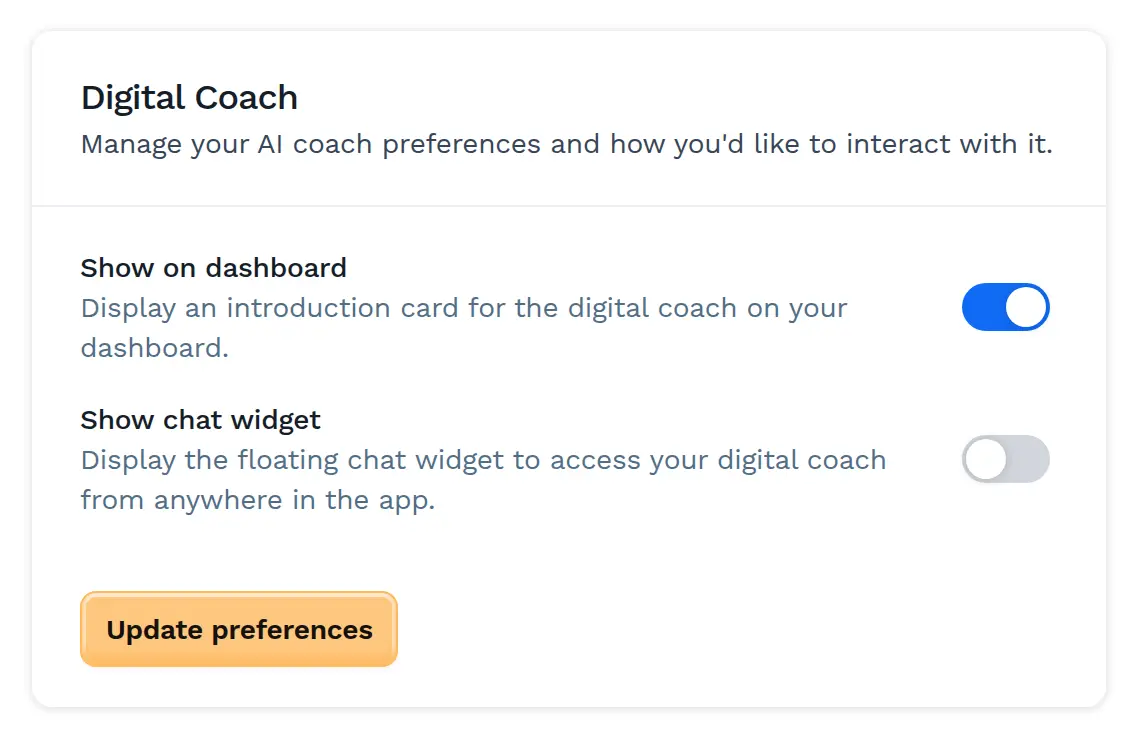
Section titled “Digital Coach Settings”The Digital Coach section lets you manage your AI coach preferences and how you’d like to interact with it.
-
Show on dashboard: Display an introduction card for the digital coach on your dashboard.
-
Show chat widget: Display the floating chat widget to access your digital coach from anywhere in the app. The chat widget isn’t shown inside the editors.
After making changes, click Update preferences to save.
Updating Your Password
Section titled “Updating Your Password”To change your password:
-
In the Update your password section, enter your current password.
-
Type your new password and confirm it by re-entering it.
-
Click Update password to save.
Enabling Two-Factor Authentication
Section titled “Enabling Two-Factor Authentication”-
In the Two-Factor authentication section, click Enable.
-
Follow the on-screen instructions to link your account with an authentication app (e.g., Google Authenticator or Authy).
-
Once set up, you’ll need to enter a code from your authentication app each time you log in.