
Funnel Settings Overview
Published: Updated:
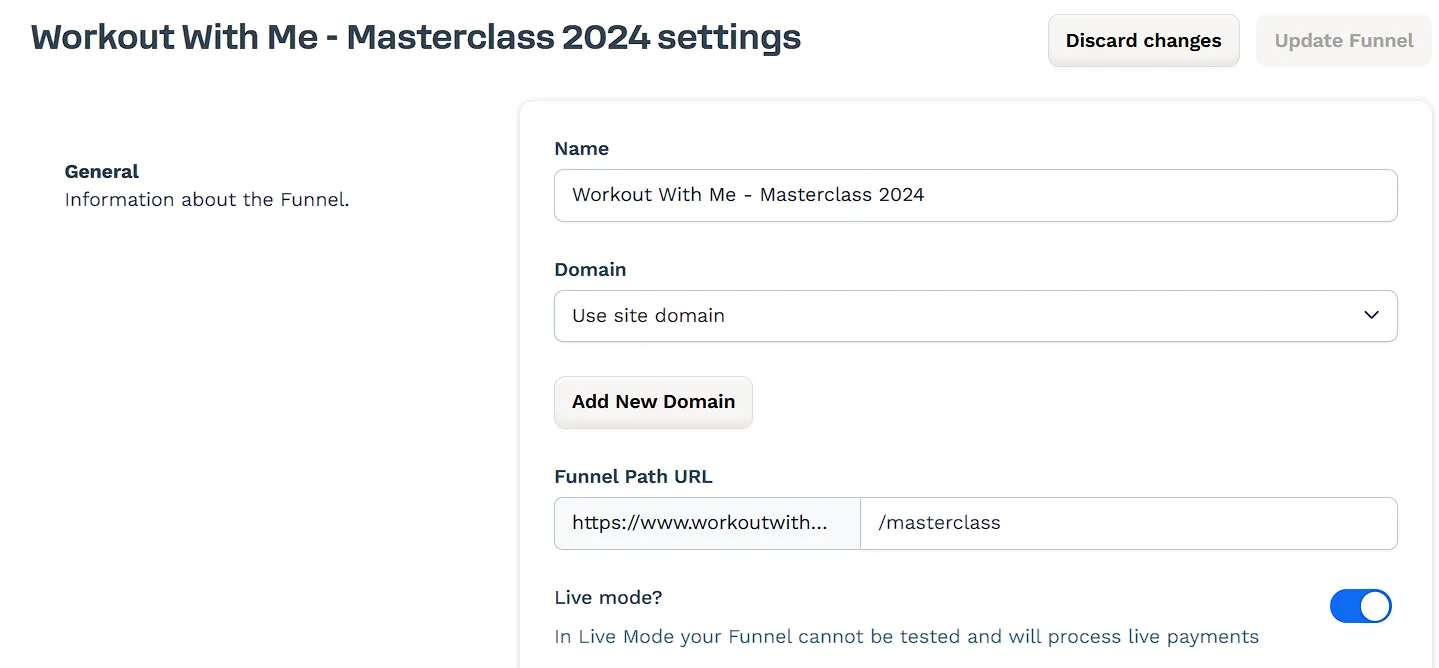
The Funnel Settings page allows you to control key details of your funnel, including its name, URL, design, and functionality. These settings help customize how the funnel appears to visitors and how it operates, ensuring it aligns with your business needs.
Making adjustments in this section can improve branding, enhance user experience, and enable important features like live transactions and custom scripts. This article explains how to access the Funnel Settings page and update its key options.
Requirements
Section titled “Requirements”-
An active ClickFunnels account
Accessing Funnel Settings
Section titled “Accessing Funnel Settings”There are two ways to access the Funnel Settings page:
Option 1: From the Funnels Dashboard
Section titled “Option 1: From the Funnels Dashboard”-
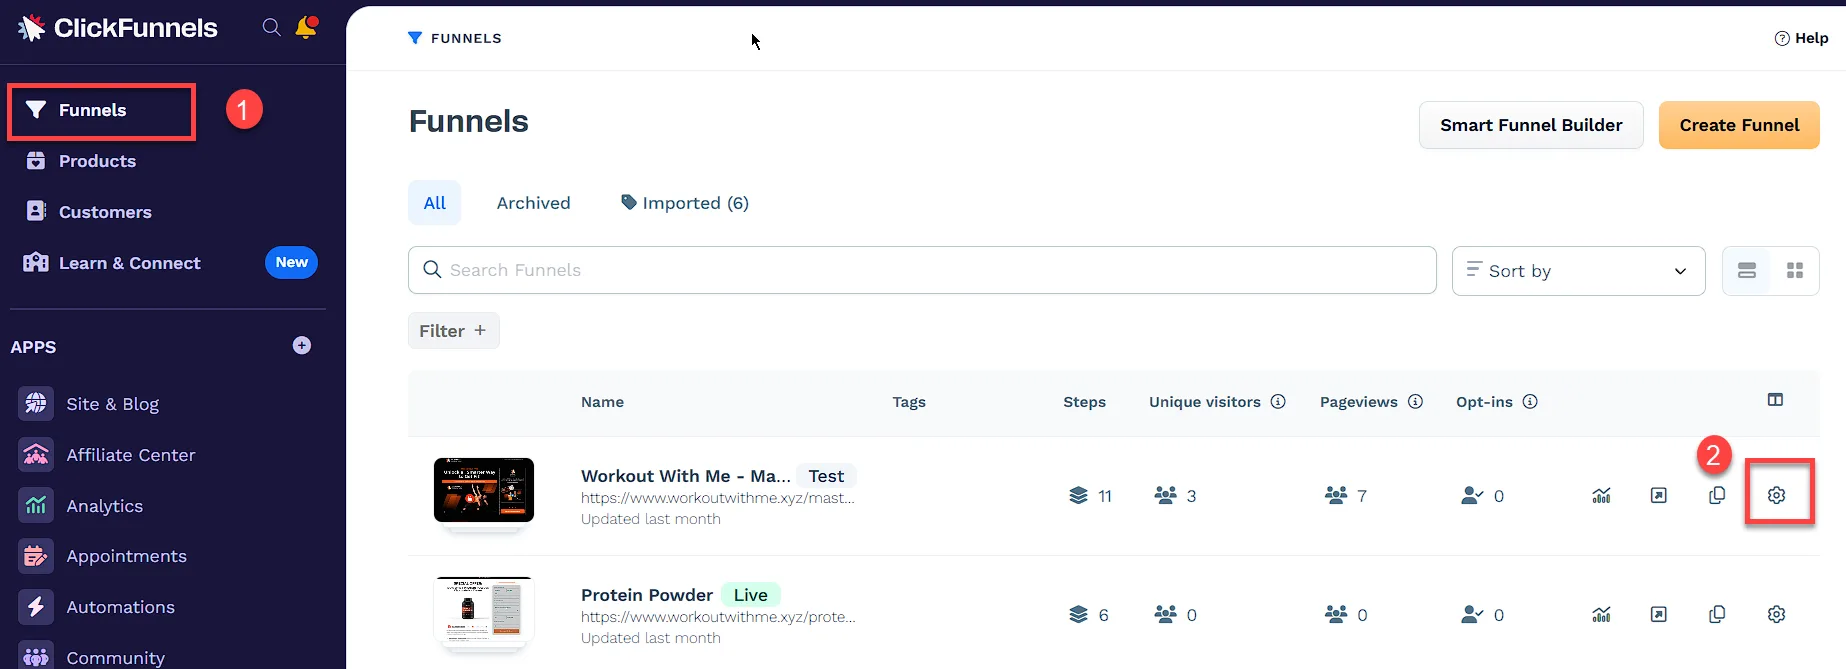
Navigate to the Funnels dashboard and locate the funnel you want to update.
-
Click the Settings ⚙ icon next to the funnel name.
Option 2: From the Funnel Workflow Editor
Section titled “Option 2: From the Funnel Workflow Editor”-
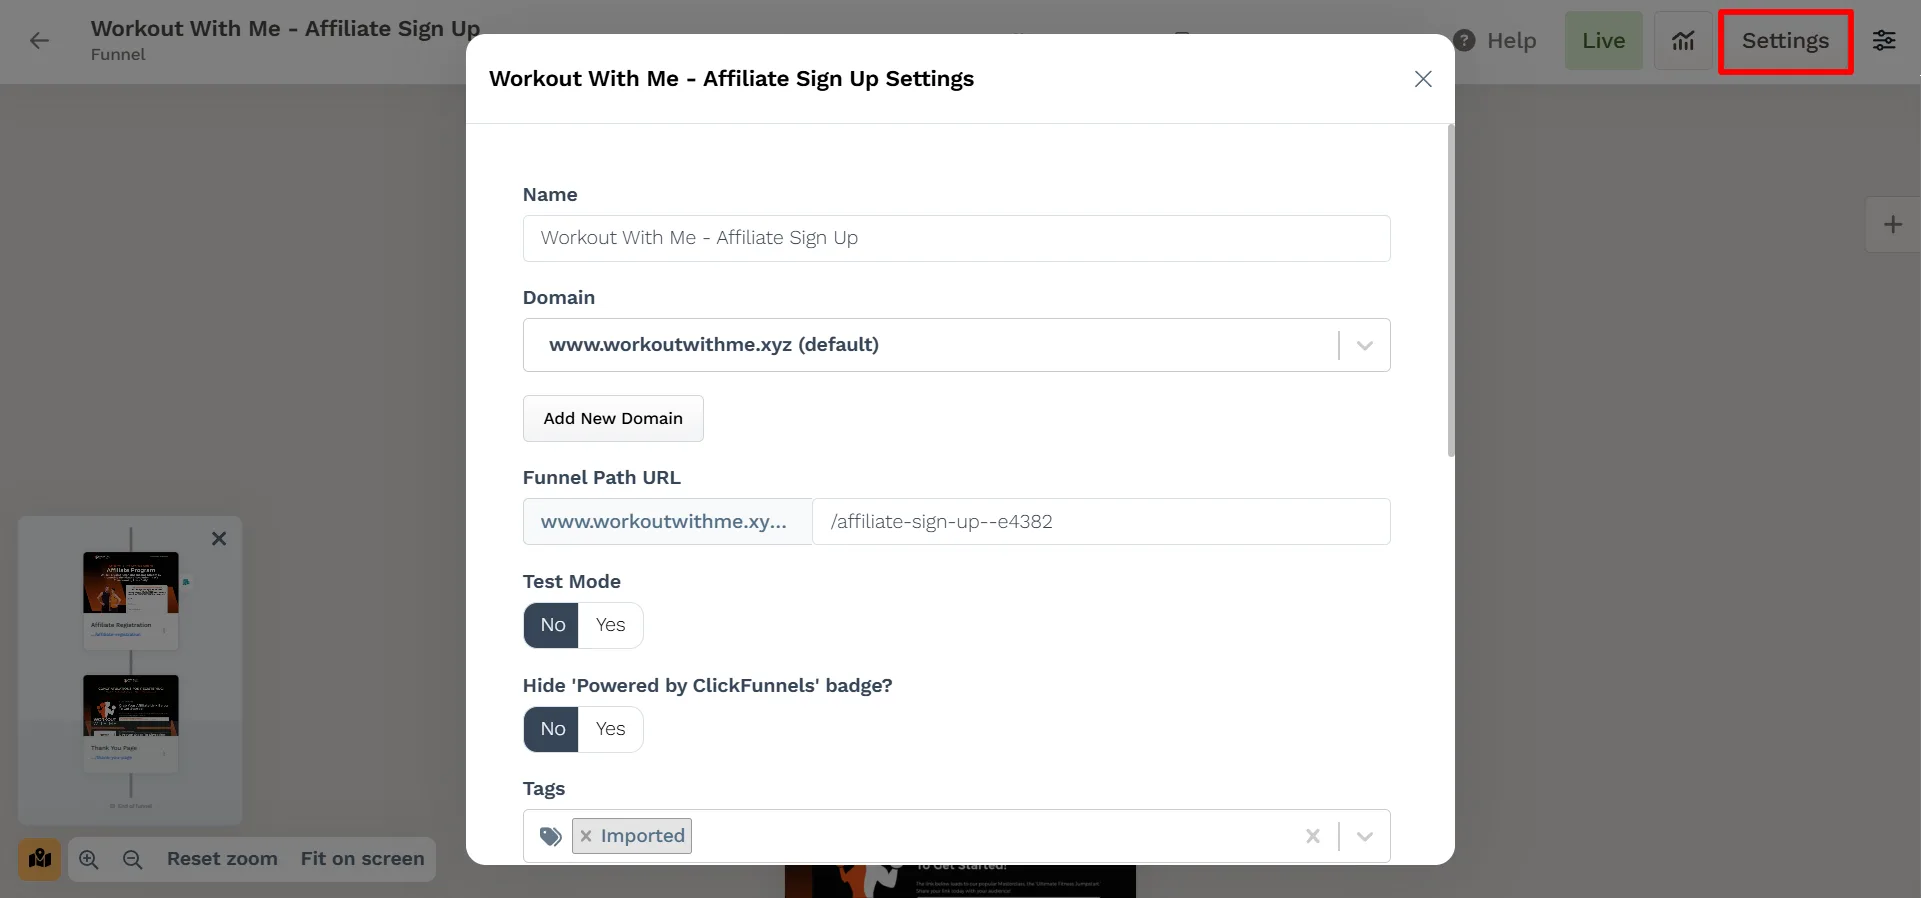
Open the funnel workflow builder by selecting the funnel from your dashboard.
-
Click the Settings button in the top-right corner of the workflow page.
General Funnel Information
Section titled “General Funnel Information”The General section contains basic settings that define how your funnel is named, accessed, and functions.
Funnel Name
Section titled “Funnel Name”This is the name of your funnel, which helps you identify it in your Funnels dashboard. Updating the name here does not change the URL or affect any funnel functionality.
-
To rename your funnel, enter a new name in the Name field.

-
Click Update Funnel to save the changes.
Updating the Funnel Domain
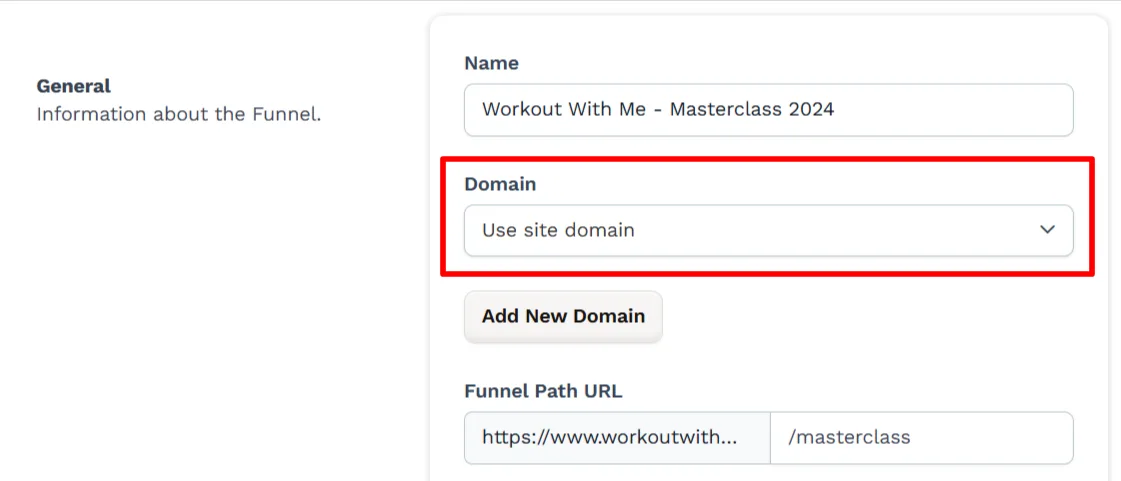
Section titled “Updating the Funnel Domain”The Domain setting determines which web address is used for your funnel. You can choose between a default ClickFunnels-provided domain or a custom domain you’ve set up.
Selecting a Domain
Section titled “Selecting a Domain”-
Click the Domain dropdown menu.
-
Choose between:
-
Use site domain: Applies the default domain linked to your ClickFunnels account.
-
Custom domain: If you have connected a custom domain, it will appear as an option.
-
-
Click Update Funnel to save your changes.
Adding a New Domain
Section titled “Adding a New Domain”If you need to use a custom domain that hasn’t been connected yet, you can now add it directly from the Funnel Settings page using the Add New Domain button. This will open the Domains page in your Workspace Settings.
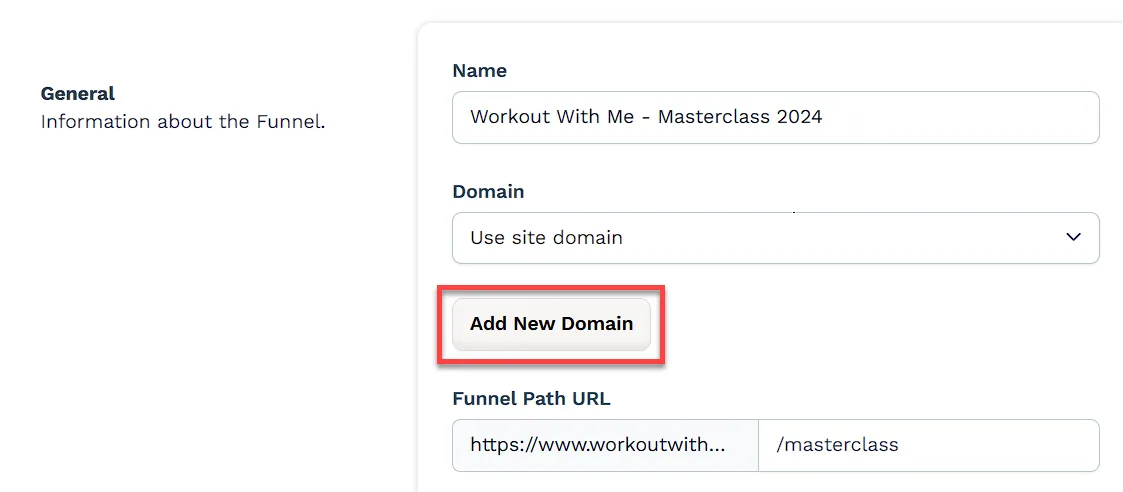
To learn more about connecting domains, refer to the Domains - How to Connect an Existing Domain (Automated Setup) article.
Funnel Path URL
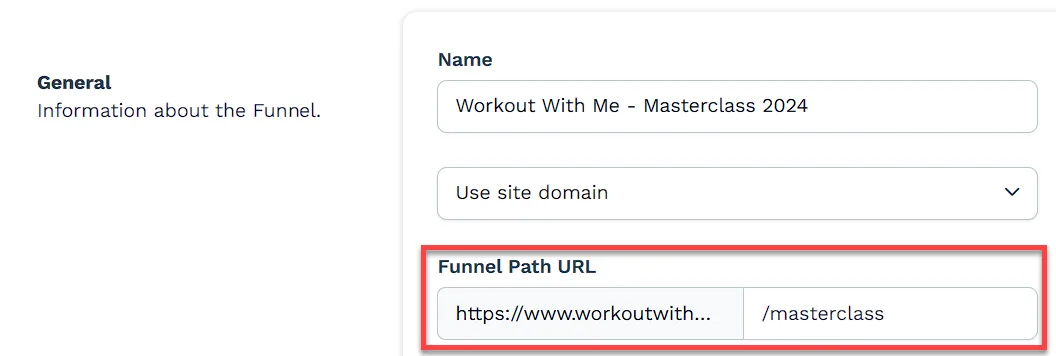
Section titled “Funnel Path URL”The Funnel Path URL determines the web address for your funnel. This is how users will access it when visiting your pages.
-
The domain can be set using the dropdown menu.
-
The path can be customized in the text field to create a cleaner, more recognizable URL.
-
Click Update Funnel to apply changes.
Live Mode
Section titled “Live Mode”Enabling Live Mode makes your funnel fully functional, allowing it to process payments, collect leads, and trigger automation workflows. When disabled, the funnel remains in Test Mode, meaning payments, email sequences, and certain automation features will not run.
-
Toggle the Live Mode switch ON to activate real interactions, including form submissions, email sequences, and transactions.

-
Toggle it OFF if you want to test the funnel without processing real transactions.
Branding, Custom Code, and Funnel Appearance
Section titled “Branding, Custom Code, and Funnel Appearance”This section allows you to customize your funnel’s appearance, branding, and add custom scripts for tracking or design modifications.
Favicon Image
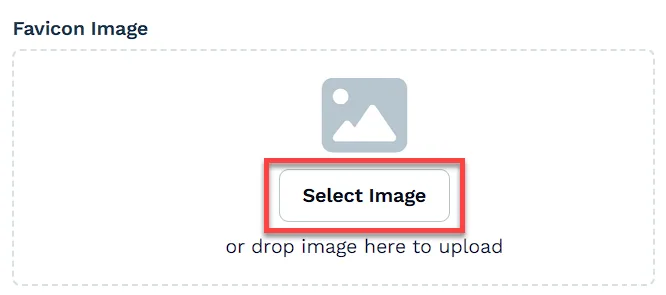
Section titled “Favicon Image”The favicon is the small icon displayed in a browser tab when someone visits your funnel.
-
Click Select Image to upload a favicon.
-
Drag and drop an image into the upload box if preferred.
-
Recommended size: 16x16 or 32x32 pixels.
Style Selection
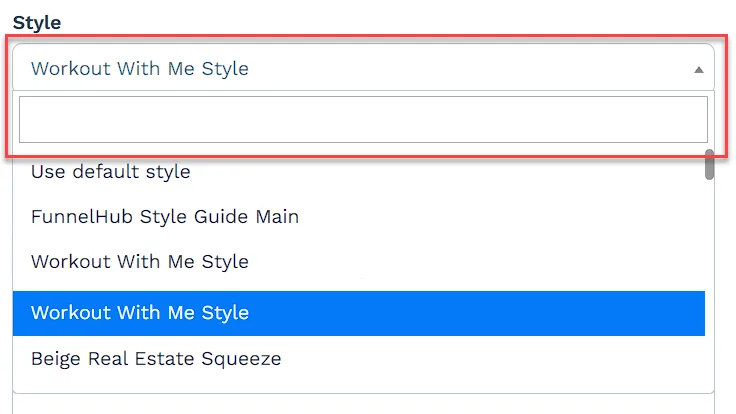
Section titled “Style Selection”The Style dropdown allows you to choose a design preset for your funnel. Selecting a style ensures consistency in fonts, colors, and page layouts across all funnel steps.
-
Click the dropdown and select a predefined style that controls the appearance of your funnel pages.
-
Click Update Funnel to apply the changes.
For more details, check out the Getting Started with Styles article.
Enabled Billing Payment Method Types (If applicable)
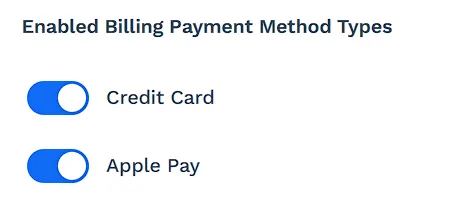
Section titled “Enabled Billing Payment Method Types (If applicable)”This section appears only if a payment gateway (such as Payments AI or PayPal) is connected to your account. It allows you to enable or disable specific billing methods for your funnel.
-
If your funnel includes checkout pages, this is where you configure the accepted payment types.
-
Make sure your payment gateway integrations are properly set up in your ClickFunnels account.
For details on setting up payments, see Getting Started: Setting Up Payments in ClickFunnels.
Head Code & Footer Code
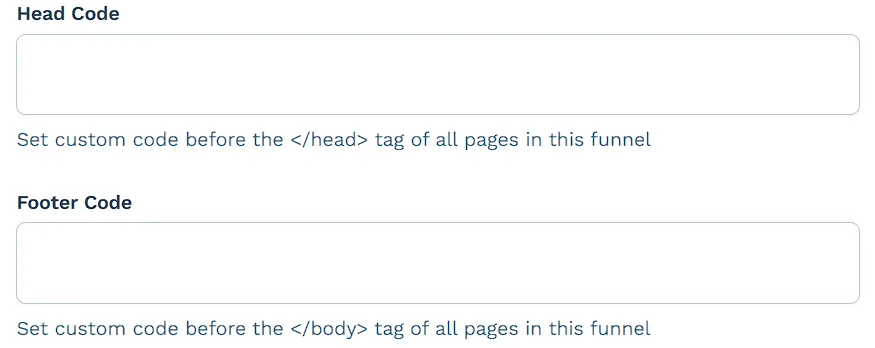
Section titled “Head Code & Footer Code”Adding tracking code, such as Google Analytics or Facebook Pixel, to your funnel allows you to collect valuable data about user behavior, measure campaign performance, and optimize your funnel for better results. You can easily add tracking code to the header or footer of your funnel. These fields allow you to insert custom scripts into all pages of your funnel.
-
Head Code: Adds scripts inside the
<head>tag, commonly used for:-
Google Analytics tracking
-
Facebook Pixel for ad retargeting
-
Custom CSS for advanced styling
-
-
Footer Code: Adds scripts before the closing
</body>tag, typically for:-
Live chat widgets
-
Conversion tracking scripts
-
Third-party tools
-
Hiding the ‘Powered by ClickFunnels’ Badge
Section titled “Hiding the ‘Powered by ClickFunnels’ Badge”By default, ClickFunnels displays a “Powered by ClickFunnels” badge on your funnel pages.
-
Toggle ON to remove the badge.
-
Toggle OFF to keep it visible.

Tags allow you to organize and categorize your funnels for easier filtering and management.
-
Click inside the Tags field and type a keyword to label your funnel.

-
If a matching tag exists, select it from the dropdown.
-
Tags do not affect functionality but help when searching for funnels.
Funnel Sharing and Management
Section titled “Funnel Sharing and Management”ClickFunnels provides options to share, duplicate, or archive your funnels for better control and collaboration.
Generating a Funnel Share Link
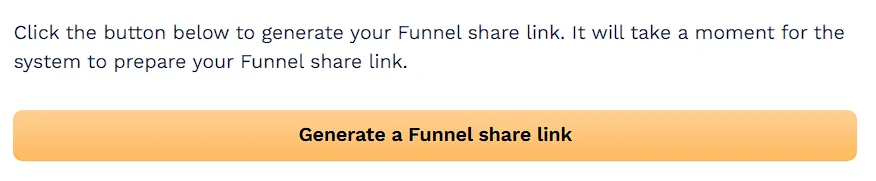
Section titled “Generating a Funnel Share Link”You can create a cloned version of your funnel to share with other ClickFunnels users.
-
Click Generate a Funnel Share Link.
-
Wait a few moments for the system to create the link.
-
Share the link with any ClickFunnels user to allow them to copy your funnel into their account.
For step-by-step instructions, refer to How to Share and Clone a Funnel.
Duplicating a Funnel
Section titled “Duplicating a Funnel”If you want to create an exact copy of your funnel:
-
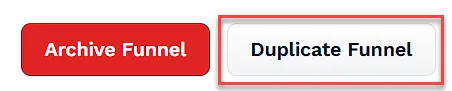
Click Duplicate Funnel.
-
The copied funnel will appear in your Funnels dashboard.
Archiving a Funnel
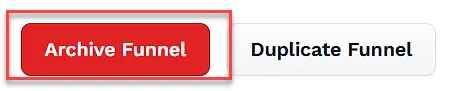
Section titled “Archiving a Funnel”Archiving a funnel allows you to remove it from your active funnels list without permanently deleting it.
-
Click Archive Funnel.
-
In the confirmation prompt, click Proceed to archive.
Restoring an Archived Funnel
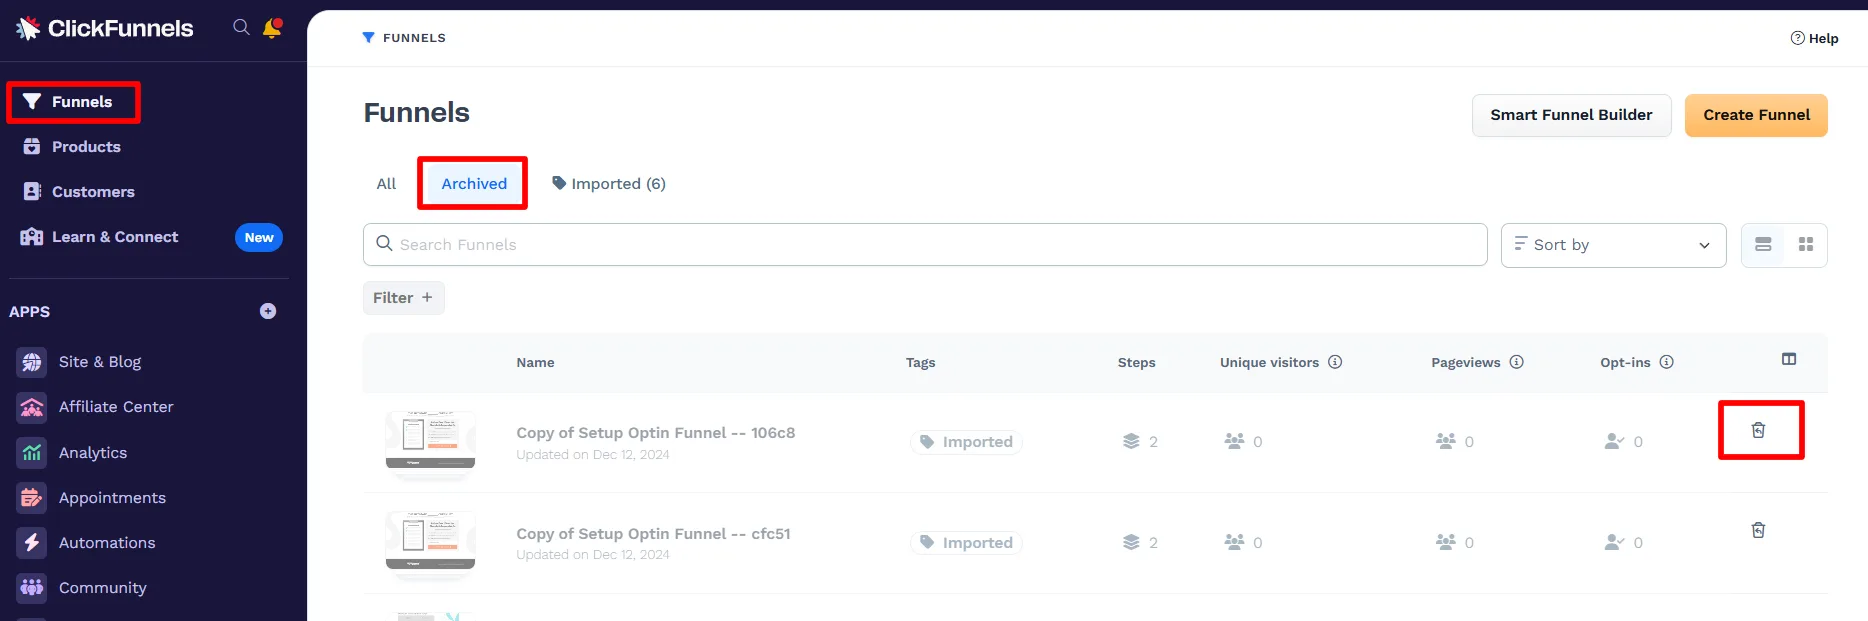
Section titled “Restoring an Archived Funnel”Archived funnels can be found in the Archived tab of the Funnels Dashboard. Once restored, the funnel will move back to the active list.
-
Go to the Funnels Dashboard and click the Archived tab.
-
Click the restore icon next to the funnel.
-
In the confirmation prompt, click Proceed to restore it.