Calendar: Add Appointment Booking Calendar to the Page
Published: Updated:
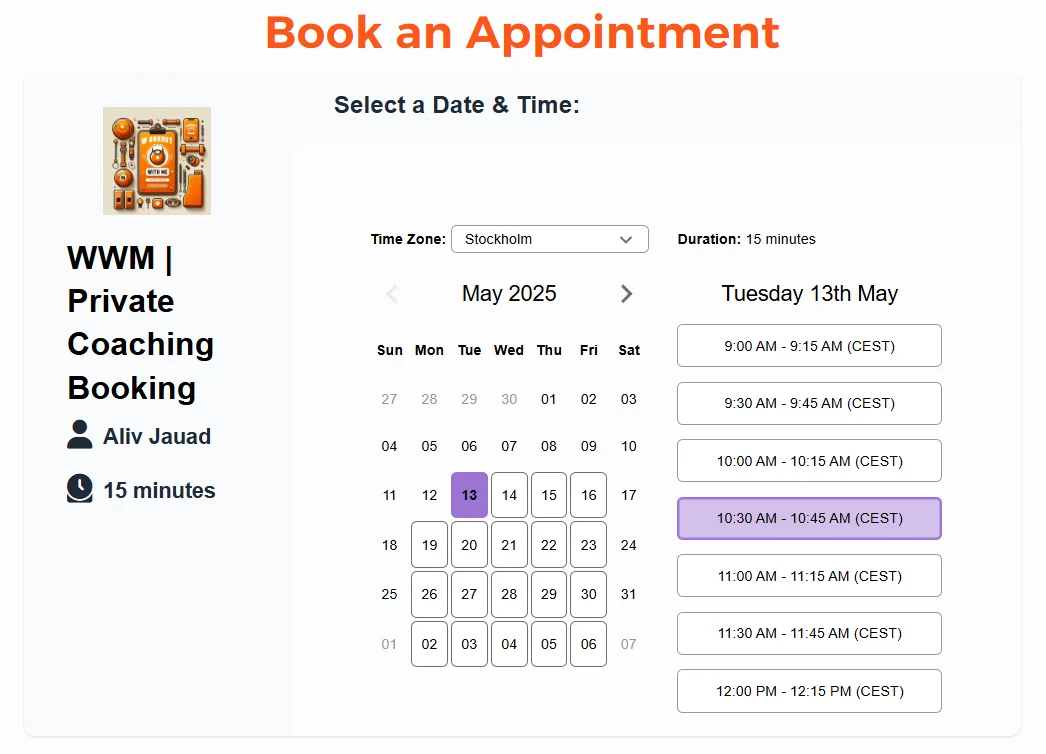
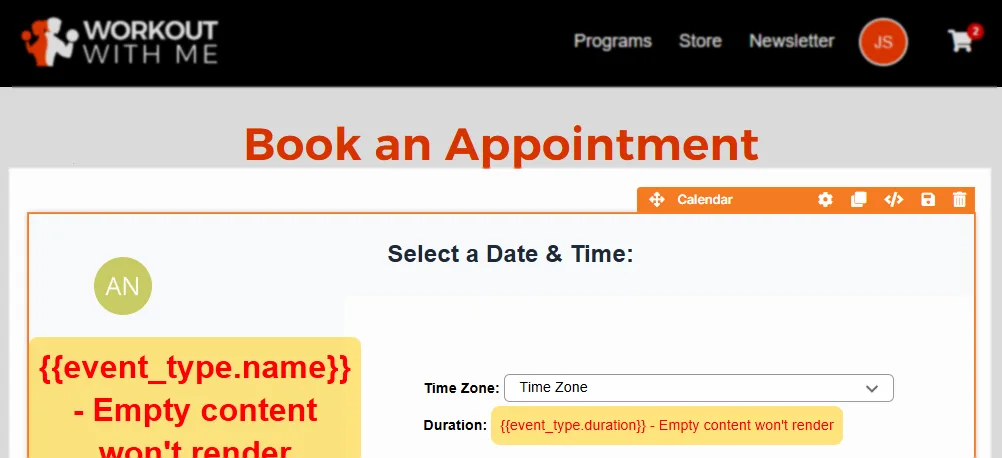
The Calendar element allows you to embed a dynamic appointment booking widget into your funnel page. This widget seamlessly integrates with your pre-created Event Types from the Appointments app in your ClickFunnels workspace. With this element, users can effortlessly book their preferred time slots directly on your funnel page, ensuring a streamlined booking experience. In this article, you will learn how to use the Calendar element.
Requirements
Section titled “Requirements”-
An active ClickFunnels account
-
A funnel page
-
An Event Type created in the Appointments app in your workspace
Creating an Event Type
Section titled “Creating an Event Type”-
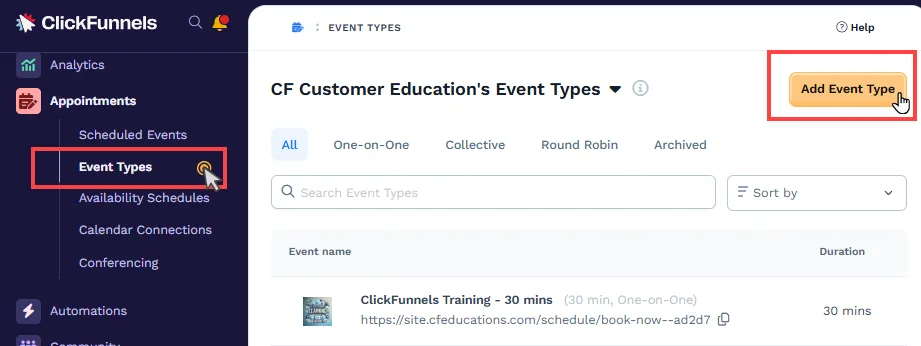
From the left-hand main menu, click the Appointments app**.**
-
Select Event Types.
-
Click the Add Event Type button to create a new event.
-
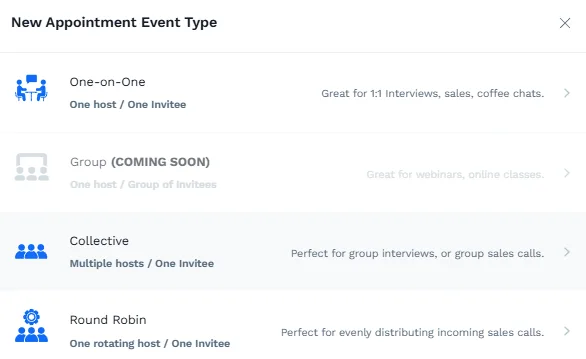
Choose the Event Type you wish to create. The available options are:
-
One-on-One: This event type is ideal for 1:1 interviews, sales meetings, or casual coffee chats. It involves one host and one invitee.
-
Group (COMING SOON): Suitable for webinars or online classes, this event type will involve one host and a group of invitees.
-
Collective: Perfect for group interviews or group sales calls, this event type involves multiple hosts meeting with one invitee.
-
Round Robin: Ideal for evenly distributing incoming sales calls, this event type features one rotating host meeting with one invitee.
-
💡 Learn more about creating events: Appointments - How to Create and Manage Event Types
Attaching the Appointment Event Type in the Funnel Step
Section titled “Attaching the Appointment Event Type in the Funnel Step”-
Navigate to the funnel step where you want to use the appointment event type.
-
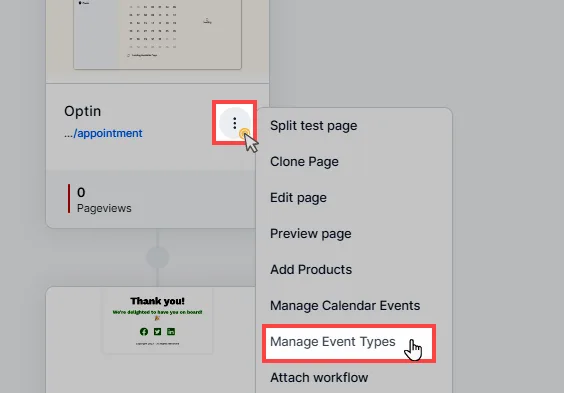
Click the three-dot icon on the funnel step (such as an Opt-in page), and select Manage Event Types.
-
In the sidebar, click Attach Event and select the event you want to link to this funnel step. Once you’ve done this, click Update.
Adding a Calendar Element in the Page Editor
Section titled “Adding a Calendar Element in the Page Editor”-
Inside the page editor, add a Section where you want to place the element.
-
Add a Row within that section.
-
Click the orange + Plus or Add New Element button inside the row to insert a new element.
-
From the Misc (Miscellaneous) category, select the Calendar element.
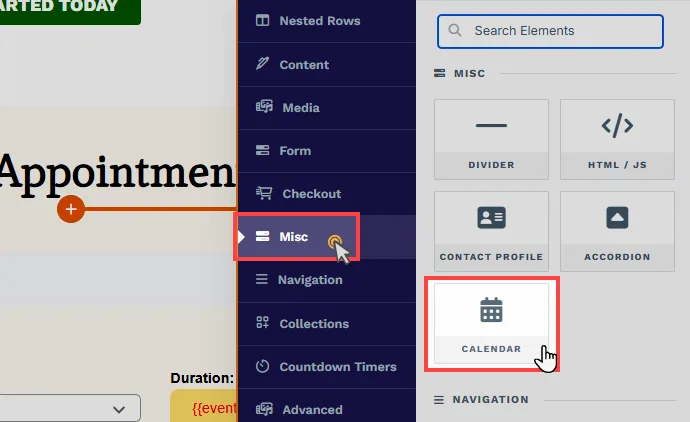
Once the Calendar element is added, you can customize its appearance to fit your page design.
Customizing the Calendar Element
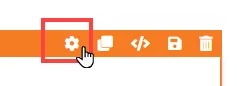
Section titled “Customizing the Calendar Element”When you hover over an element, its border will be highlighted in orange. To access an element’s settings, click on the gear ⚙️ icon or click directly on the element.
Top Margin
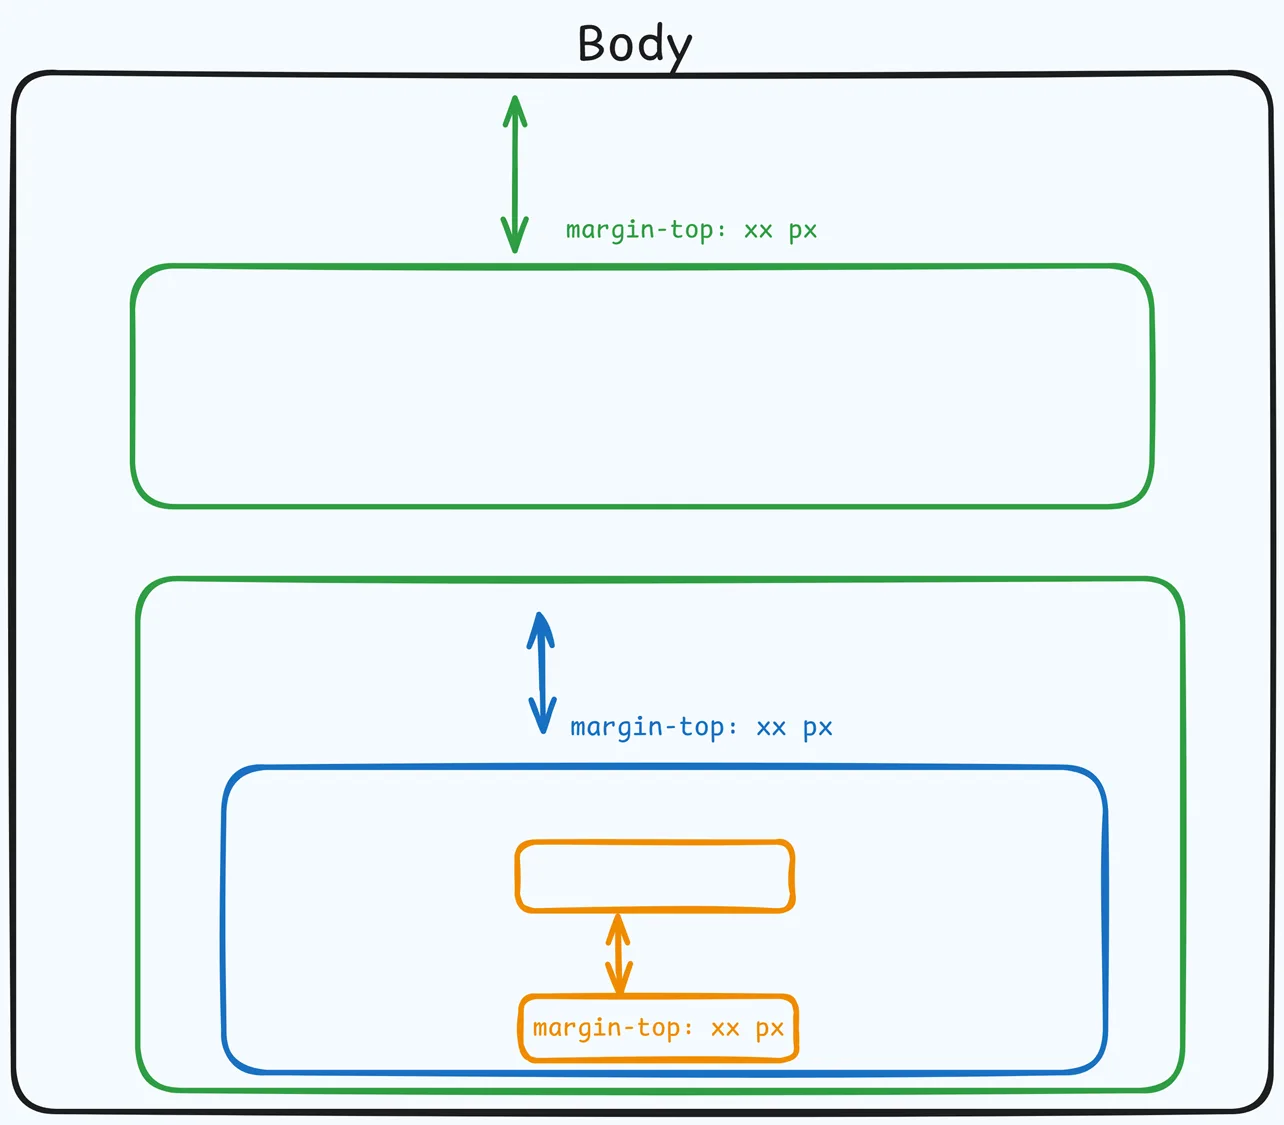
 The Top Margin setting lets you control the space between the current container (section, row, flex, and element) and the container directly above it. If no previous container exists, the margin will be applied relative to the parent container. If no preceding container is added, the Body will be the parent.
You can set top margin values independently for desktop and mobile by using the device icons (🖥️ & 📱 ). If no mobile value is specified, it will inherit the desktop setting by default. Use the slider or manually enter a value in pixels (px) or percentage (%) to create consistent spacing across screen sizes.
Control Panel
The Control Panel appears at the bottom of every container(Section, Row, Flex, and Element) in the page editor, offering quick access to essential settings and actions for that container. Here’s what each icon represents:

-
ALL: The container will be visible on all devices (desktop, tablet, and mobile).
-
Desktop (🖥️**) Icon**: The container will only be visible in desktop view.
-
Mobile (📱) Icon: The container will only be visible in mobile view.
-
Eye (👁️) Icon: Use this to hide the container from the page. Once clicked, the container will be hidden in the editor but not deleted. You can click the Layout menu in the top navigation bar to find the hidden containers. Select All, Desktop, or Mobile icon to unhide in the editor.
-
Code (</>) Icon: This icon opens the code editor, where you can insert custom CSS or JavaScript code to modify the container’s behavior or styling.
-
Trash (🗑️**) Icon**: Removes the container from the page editor entirely.
Advanced Settings
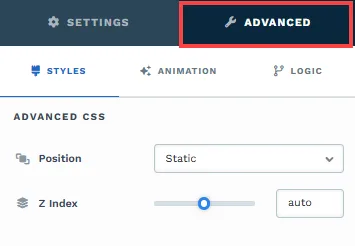
To further customize your container (section, row, column, and element), ClickFunnels provides Advanced settings that allow you to control style, advanced CSS, animation, and rendering logic. We’ve separated these advanced features into dedicated articles to avoid overwhelming you with too much content in one place and to keep our documentation concise. Explore the following resources for more details:
-
Advanced Settings - Customize Styles: Learn how to populate contents dynamically, position containers, and apply z-index.
-
Advanced Settings - Customize Animation: Learn how to add animations, control entry and exit effects, and adjust animation delay.
-
Advanced Settings - Customize Logic: Learn how to apply conditional logic to elements and add custom attributes.
Previewing
Section titled “Previewing”When an Event Type is attached to the funnel step and the Calendar element is added, you can use the Preview 👁️ icon in the editor to view how the appointment widget appears. The widget will dynamically display all necessary details from your Event Type, including the event name, host information, meeting time and location, time zone, and a calendar showing available slots. Depending on your Event Type setup, users will also see options to select a time slot and the booking form.
This preview provides a representation of how your Calendar appears: