
How to Add and Manage Funnel Steps
Published: Updated:
Funnel steps are the individual stages that guide a user through your sales process in ClickFunnels. Understanding and managing these steps is crucial for optimizing user experience. As a ClickFunnels user, learning to manage these steps helps you design an effective sales journey. In this article, we’ll cover how to add new steps, remove unnecessary ones, and manage existing steps to optimize your funnel’s performance and achieve your marketing goals.
Requirements
Section titled “Requirements”-
An active ClickFunnels account
Funnel Steps Types
Section titled “Funnel Steps Types”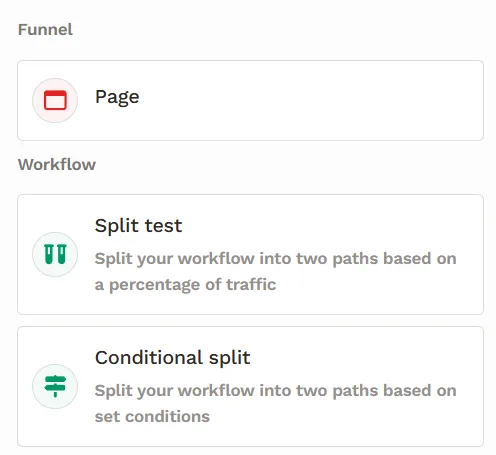
-
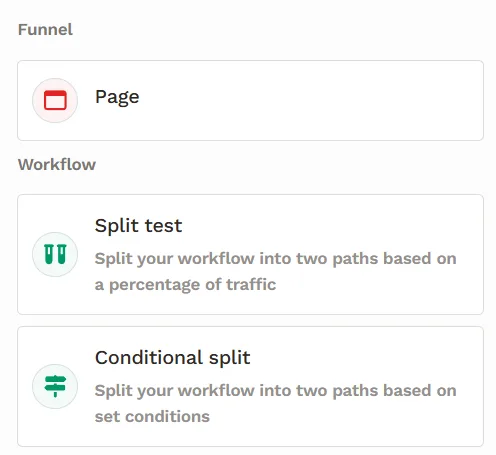
Page: Displays a single page when a visitor reaches this step. You can clone an existing page or create a new one.
-
Conditional Split Path: Directs visitors down different paths based on specific criteria. Each path has its own steps, and they merge at the end to continue the funnel.
-
Split Test: Splits traffic between two paths based on percentages of traffic. Combined with analytics, it provides insights into each path’s performance. The paths merge at the end to continue the funnel.
How to Add a New Funnel Step
Section titled “How to Add a New Funnel Step”-
Click on Funnels from the left navigation menu.
-
Click on the funnel you wish to add a step to open the Funnel Workflow Editor.
-
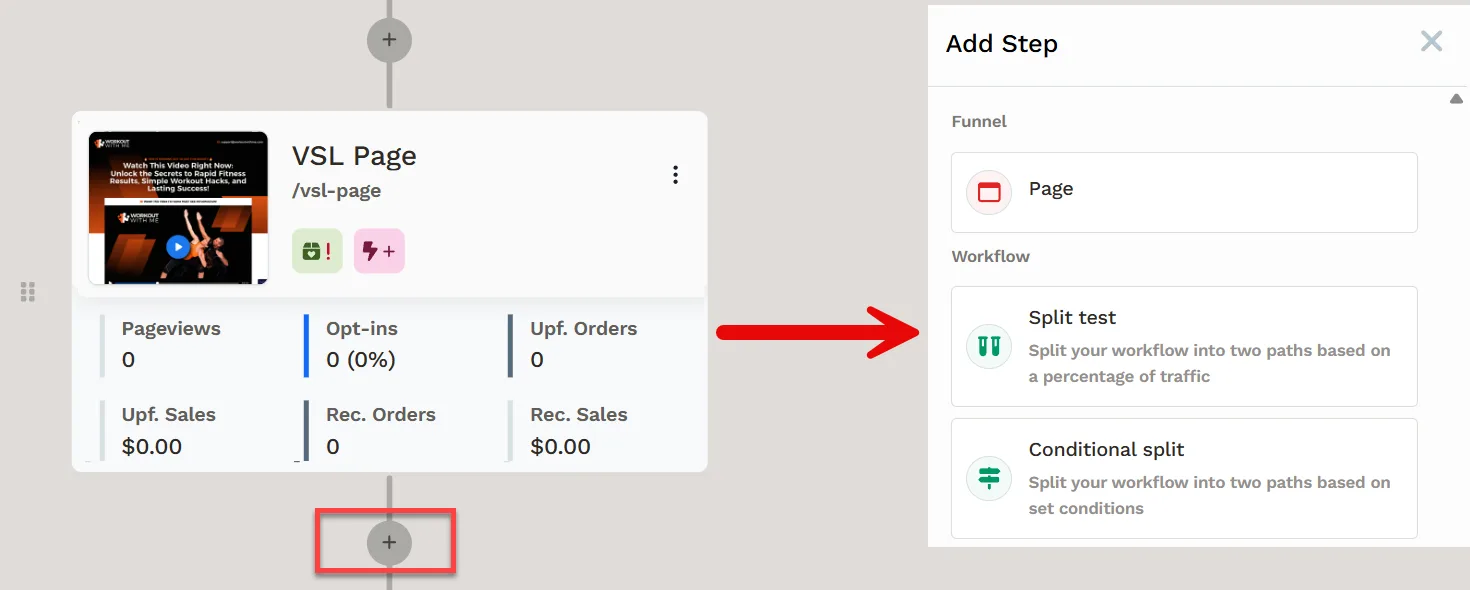
From the Funnel Workflow Editor, hover over and click on any of the circles to add a new step at that spot.
-
Select the type of Step you wish to add.
-
To add a new page:
-
Click the Page option in the sidebar.
-
In the right-hand menu, hover over a funnel category you like and click Choose to use an existing page.
-
To create a new page, click New Page at the top right of the window.
-
-
How to Manage Funnel Step Settings
Section titled “How to Manage Funnel Step Settings”-
Click the three dots next to the Page Name in the funnel workflow editor, and then select Settings from the dropdown menu.
-
Enter the Name for your funnel step.
-
Fill in the URL field or leave it blank to use the page name as the URL.
-
Enter an SEO title — a clear title without branding or the domain itself, ideally 60-70 characters.
-
Enter an SEO description — a clear description at least two sentences long, ideally 150-160 characters.
-
Choose a Style for the page, or leave the default style in place.
-
Set the Crawler access options to control which automated visitors may read this page. See Crawler Access: Search Engines and AI Bots below.
-
Click the Sharing Image button to select an image.
-
Click Submit to save your settings.
Crawler Access: Search Engines and AI Bots
Section titled “Crawler Access: Search Engines and AI Bots”The Crawler access controls in a page step’s Settings let you decide which automated visitors may read that page. Every control is worded as an allowance, so on means the crawler is permitted and off means it is blocked.
Under Search engines:
- Allow search engines — lets traditional search crawlers index this page so it appears in search results (e.g., Google, Bing, DuckDuckGo). When it is on, the page can be indexed and is included in your domain’s sitemap; when it is off, the published page carries a
noindextag.
Inside the AI services box — AI services use your page in three different ways, and each works independently of search engines:
-
Allow AI training — lets AI companies use this page’s content to train their models (e.g., GPTBot, ClaudeBot, Google-Extended).
-
Allow AI search results — lets AI answer engines index this page and cite it when people ask questions (e.g., OAI-SearchBot, PerplexityBot).
-
Allow AI assistants — lets assistants open this page when a person asks them to, such as pasting your link into ChatGPT (e.g., ChatGPT-User, Claude-User).
A summary line below the toggles describes the page’s current state in plain language and updates as you flip the toggles, before you click Submit.
Turning an AI toggle off adds Disallow rules to your domain’s robots.txt file, under the user agents in that category. The rules cover every address the funnel page is reachable at — both its funnel step URL and the page’s own URL.
The same Crawler access controls are available on site pages, standalone landing pages, and your site’s home page.
How to Manage Funnel Steps
Section titled “How to Manage Funnel Steps”-
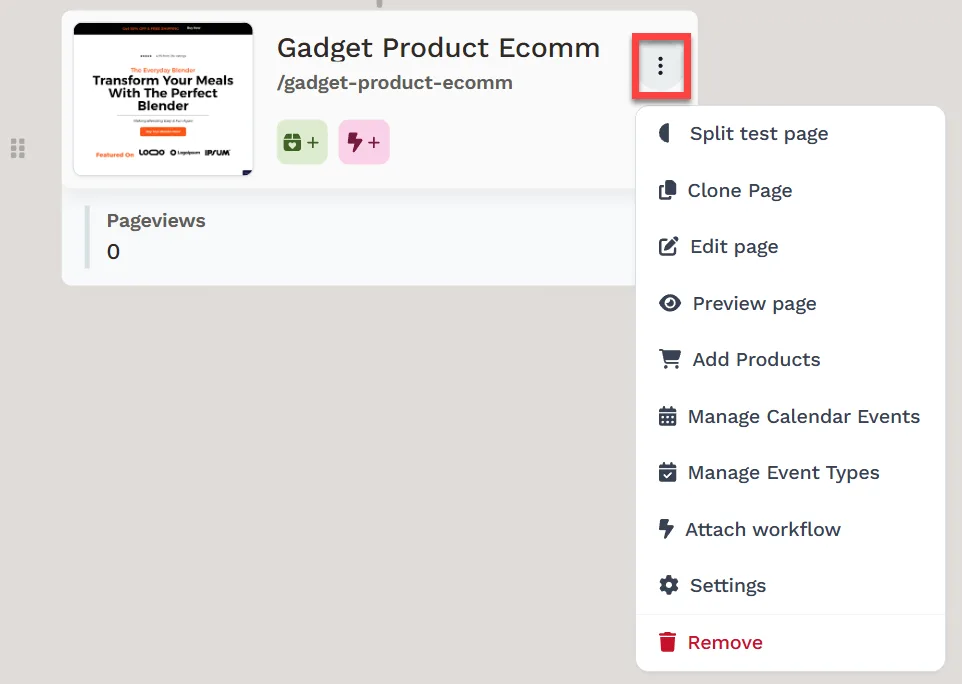
Click the three dots next to the Page Name in the funnel workflow editor. This will give you several options to manage your steps.
-
Split Test Page: Test different versions of a page to see which performs better. Learn more about Split Testing in Funnel Steps.
-
Clone Page: Click this option to duplicate an existing page in your funnel to use it as a template for new content in the same funnel.
-
Edit Page: This option will take you to the funnel editor to modify the content and design of the page.
-
Preview Page: Open a preview of your page in a new tab to see how it looks and functions.
-
Manage Products: Add and configure products for your funnel. Learn more about Adding products to a funnel step.
-
Attach Events: Link specific events to your funnel steps. Click here for more information about Attaching events to a funnel step.
-
Attach Workflow: Connect workflows to automate actions in your funnel. When you click this option, a window will appear where you can choose an existing workflow and select it to attach to your funnel step. Alternatively, you can create a new workflow by clicking the New Workflow button at the top right. To learn more, please refer to the How to Manage Workflows article.
-
Remove: Delete a funnel step you no longer need.